

Cinematic Camera Speeds for 3D Architectural Walkthroughs
A professional 3D architectural walkthrough runs at 0.8 to 1.5 m/s for interior spaces and is rendered at 24fps for cinematic output or 30fps for real estate delivery. Get the speed wrong and even a perfectly modelled, beautifully lit walkthrough reads as amateur: too fast, and the viewer cannot process the space; too slow, and attention drops before the reveal.
This post covers the exact camera speed ranges used in professional studios, the fps decision and what it costs in render time, and what to tell your studio before they start.
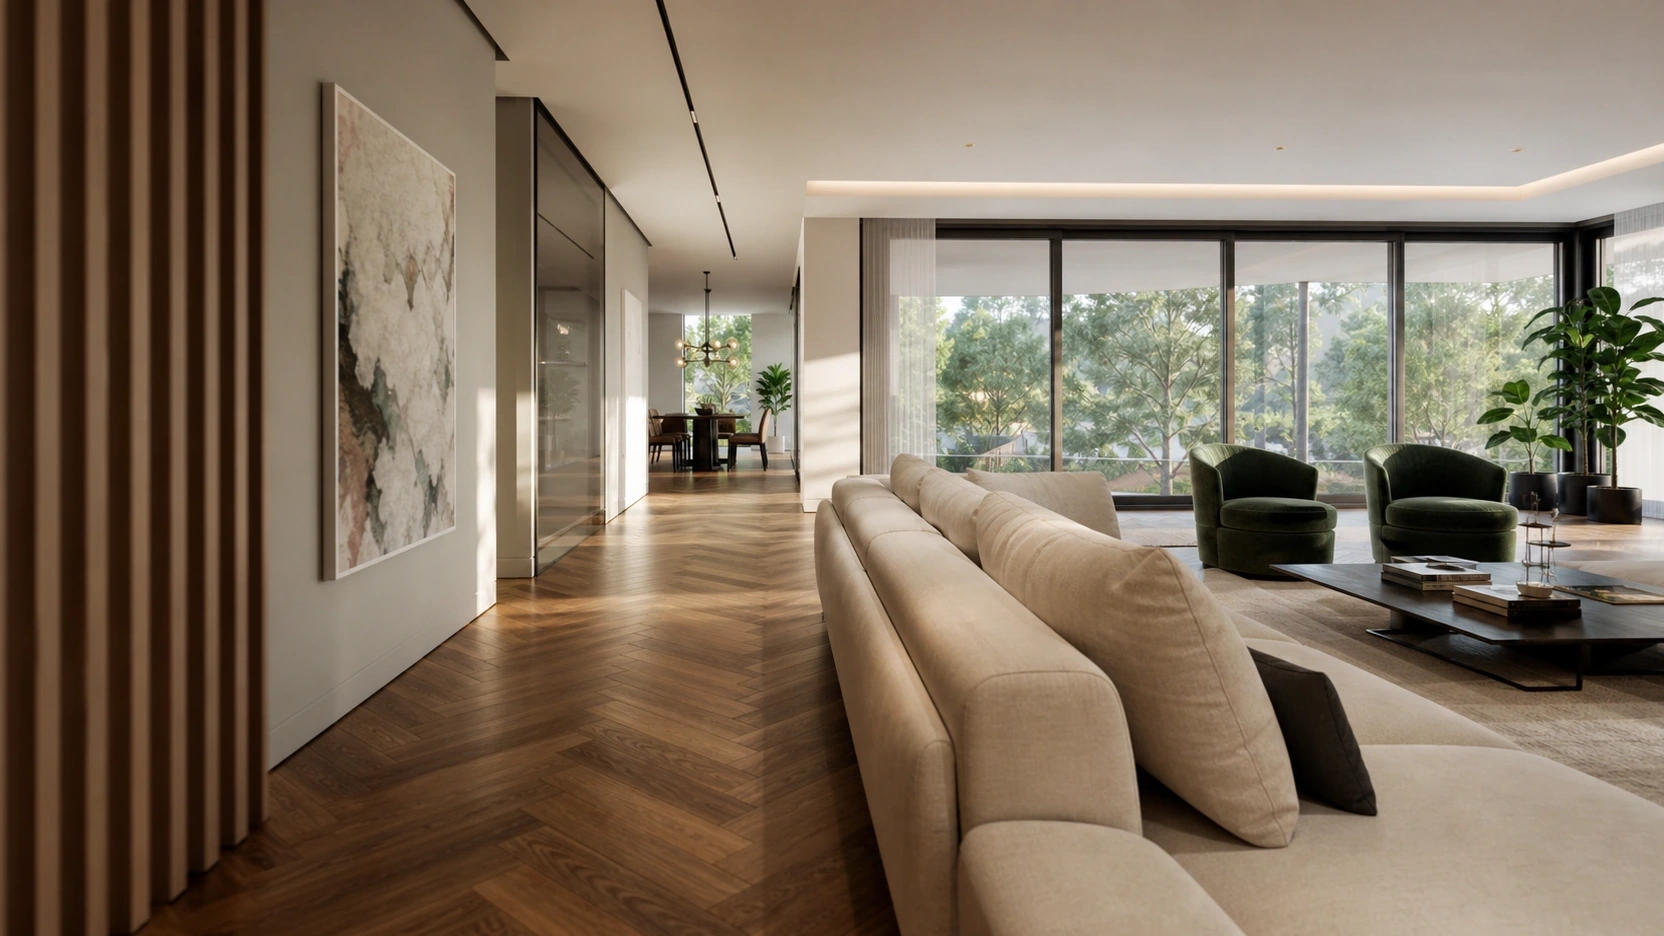
What Makes a 3D Architectural Walkthrough Feel Cinematic
Every cinematic 3D architectural walkthrough starts with accurate 3D Architectural visualization, as poor lighting or materials cannot be fixed through camera movement alone.
Camera height is the first thing a viewer registers, consciously or not. Lock it at 1,750mm to 1,800mm. Lower than that and the space reads from a child’s perspective; higher than that and it feels like CCTV footage rather than a walk through a building.
Want to see these camera techniques in real client projects? Browse our architectural visualization portfolio for residential and commercial examples.
Easing and Keyframe Smoothness
Speed matters, but easing matters more. Easing, the smooth acceleration and deceleration at the start and end of every camera movement, is the single biggest differentiator between files that look produced and files that look like a rushed freelancer job. In 3ds Max, Unreal Engine, Lumion, and Twinmotion, every keyframe with linear interpolation instead of a Bezier or ease curve will feel mechanical. One jerky cut undoes ten seconds of careful material work.
Shot Duration and Camera Path
Keep individual shots under 6 seconds unless the camera is actively revealing something new. A static 8-second hold on a ceiling detail loses viewers at second five. If you want the viewer to dwell, give the camera a slow, barely perceptible creep. Movement holds attention. Stillness has to earn it.
The camera path should not feel railed. A slight, organic lateral drift toward where the eye wants to look next, not a shake but a gentle lean into the composition, separates professional work from software-default paths.
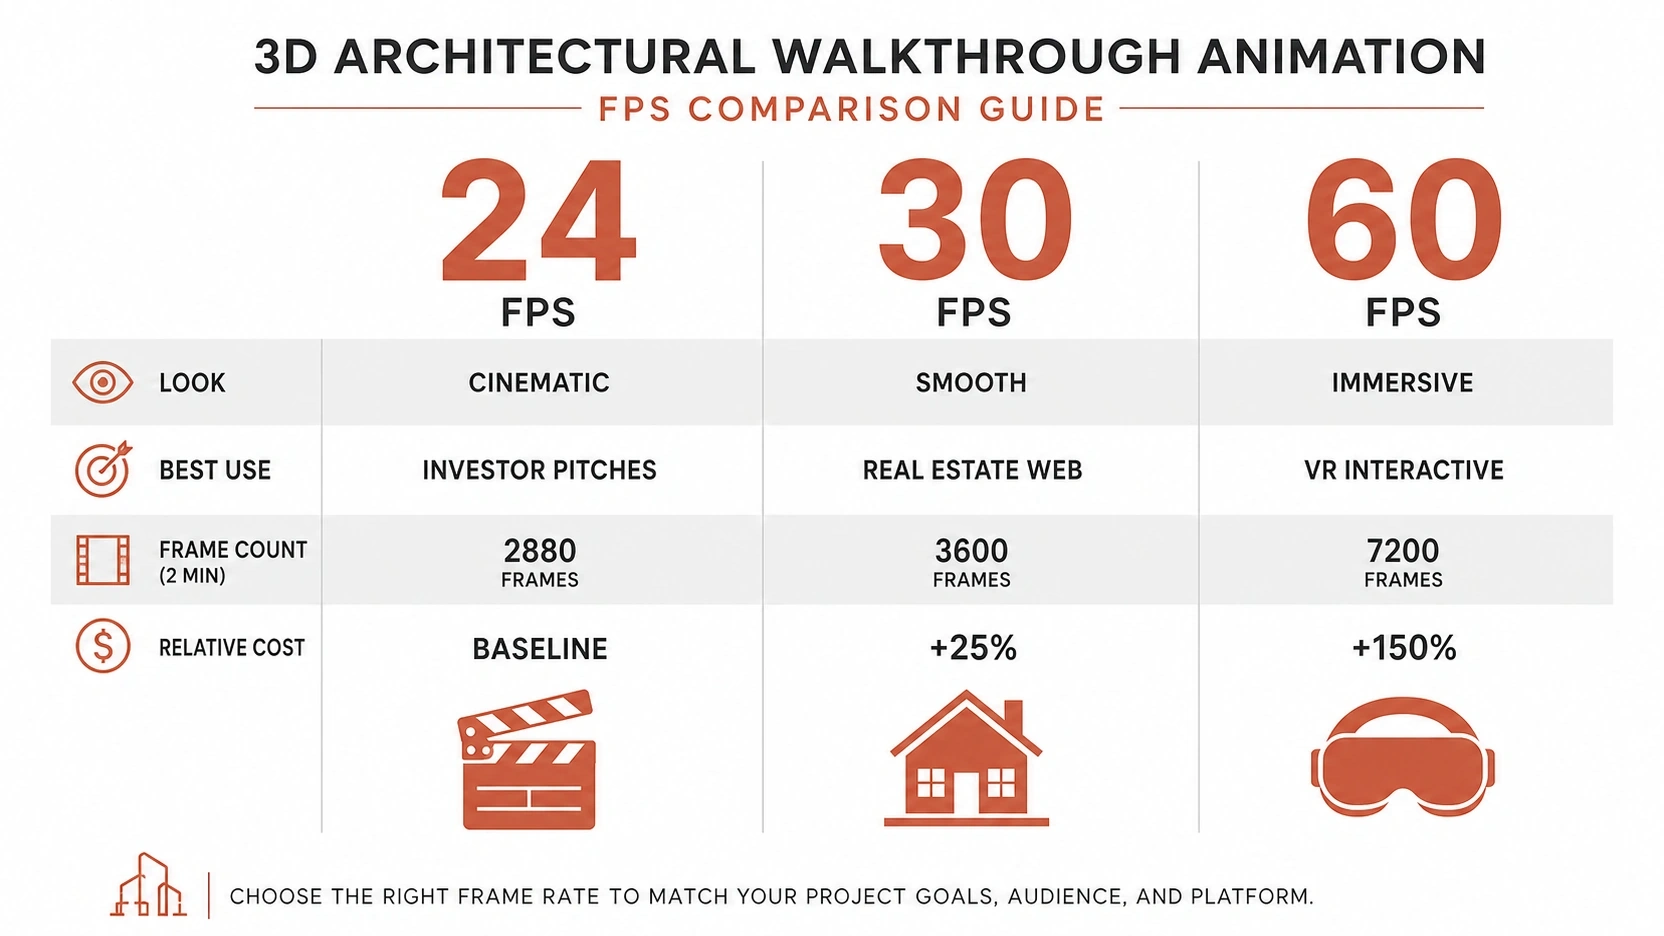
24fps vs 30fps vs 60fps for Architectural Walkthroughs
Frame rate is a creative and commercial decision in equal parts. The choice affects how the walkthrough feels, where it plays, and what it costs to produce.
| FPS | Look | Best Use | Render Cost vs 24fps |
|---|---|---|---|
| 24 | Cinematic, film-like motion blur | Luxury presentations, investor pitches, award submissions | Baseline |
| 30 | Smooth, real-to-life | Real estate listings, YouTube, social media | +25% more frames |
| 60 | Hyper-fluid, immersive | VR and interactive walkthroughs only | +150% more frames |
In our studio, we default to 24fps for any walkthrough where the goal is emotional impact: a high-end residential reveal, a commercial lobby tour, or an investor pitch deck. We use 30fps when the client is uploading to a real estate portal or presenting in a web browser where 24fps can occasionally stutter on mid-range hardware.
60fps is not a luxury tier for linear video. It is a format requirement for VR and interactive walkthroughs. For a standard delivery, 60fps doubles the render workload compared to 30fps and produces no meaningful visual improvement on a standard screen.
One practical note on delivery: if your walkthrough will sit alongside other footage, confirm the frame rate of that existing material before production starts. A 30fps walkthrough cut into a 24fps presentation timeline creates judder that no colour grading can fix.
Camera Speed Settings by Space Type
Not all spaces move at the same pace. Here are the speed ranges used in professional 3d architectural walkthrough production:
Interior Rooms
- Detail-rich rooms (kitchens, master bedrooms, living rooms): 0.8 to 1.0 m/s
- Focal features (kitchen island, fireplace surround, statement window): slow to a near-pause
- Shot timing calculation: a 5-metre path at 0.9 m/s runs 5.6 seconds, within the 6-second guideline
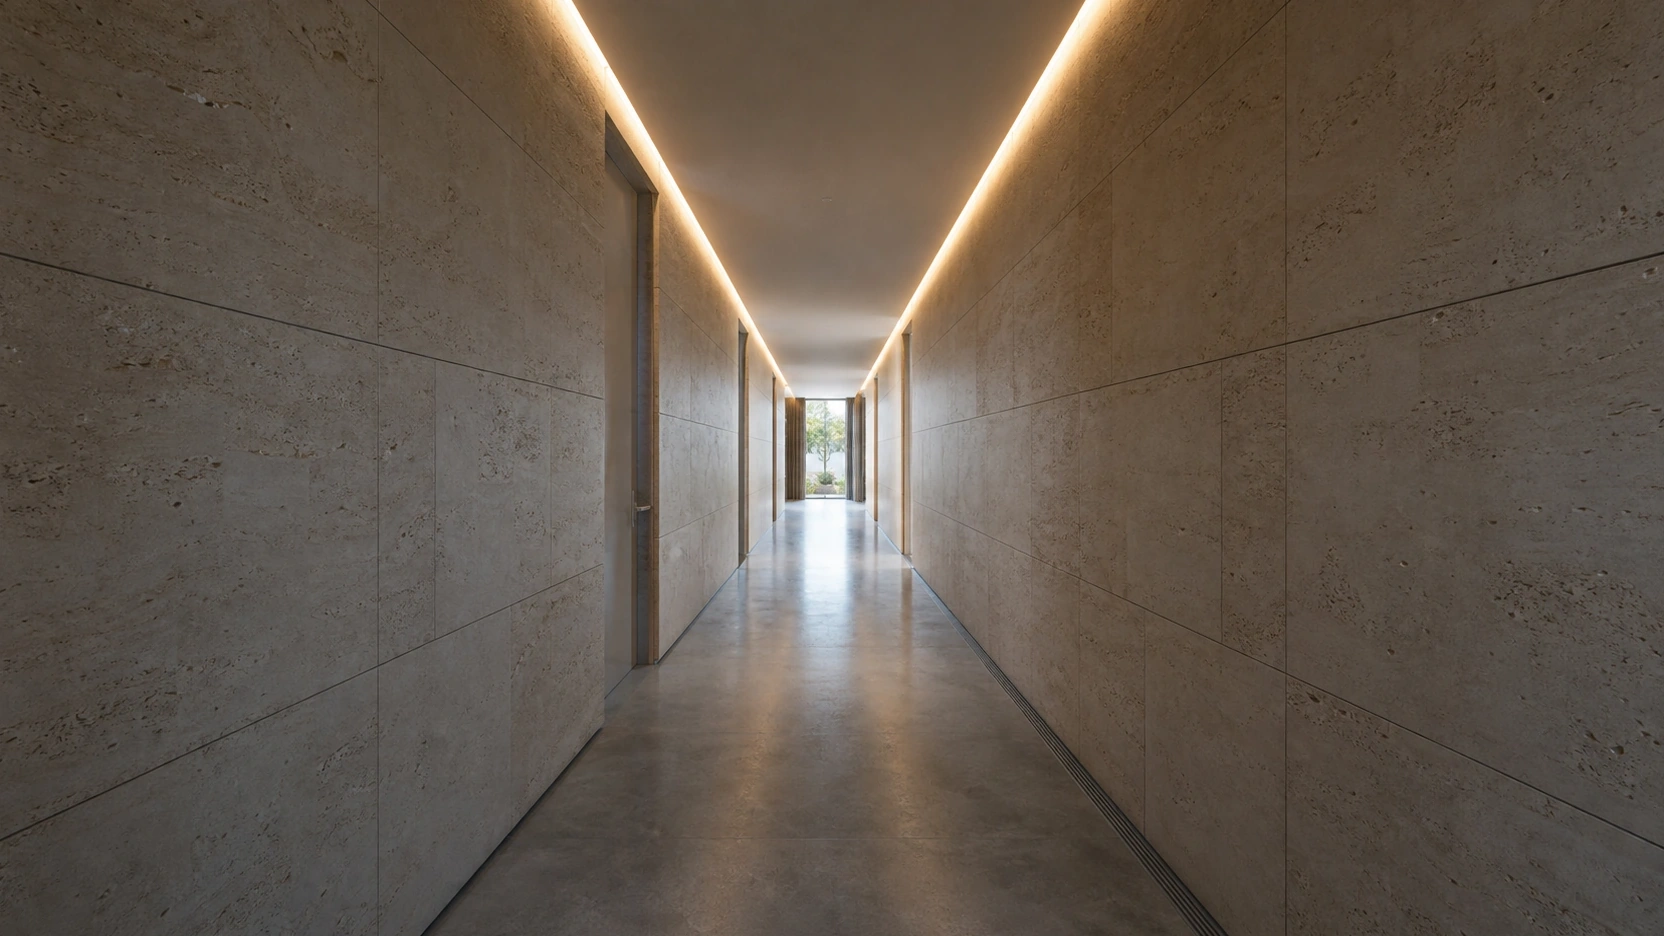
Corridors and Transitions
- Speed range: 1.2 to 1.5 m/s
- Purpose: The slightly higher speed carries energy through dead space
- Rule: Ease into the next room; do not arrive at full speed
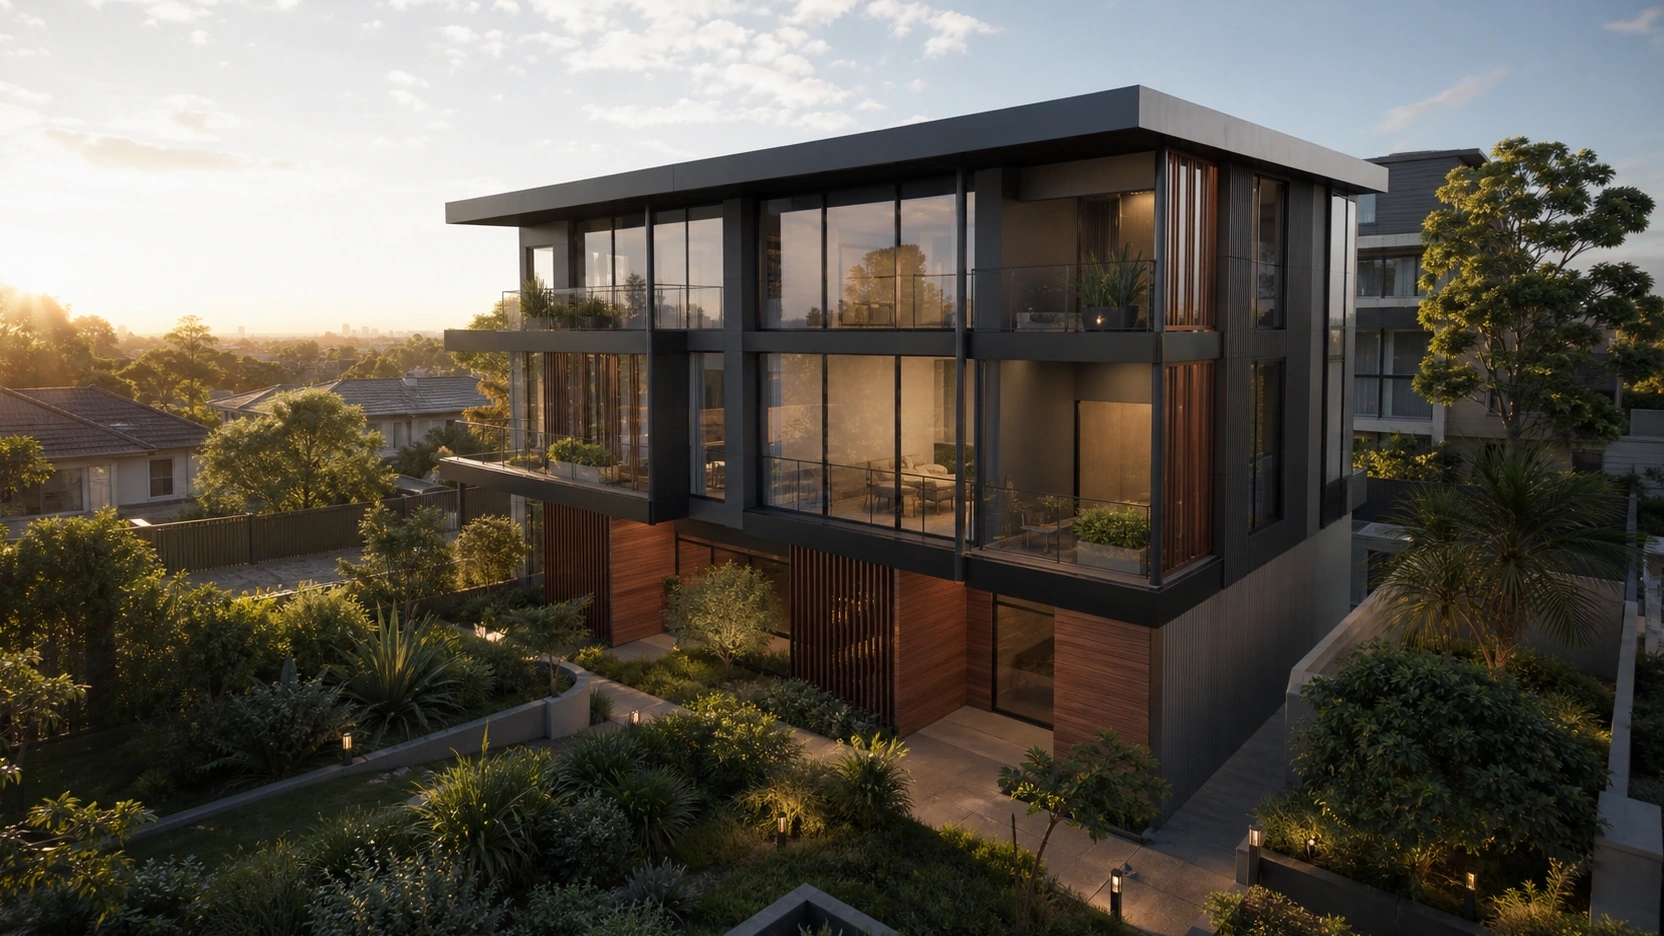
Exteriors and Flythroughs
- Ground-level building passes: 2.0 to 4.0 m/s. At 1.0 m/s along a facade, the camera barely moves. At 3.0 m/s with a smooth arc, the building reads as a coherent whole.
- Masterplan aerials (camera at 30m to 80m height): 5.0 to 8.0 m/s. Easing is still non-negotiable at this scale.
Engine Choice and Render Time Impact
The engine you choose for a 3d architectural walkthrough directly affects image quality and production cost. Here is how the main options compare for a 2-minute 4K output on an NVIDIA GeForce RTX 4090 (24GB VRAM):
| Engine + Mode | Est. Render Time (2-min 4K) | Quality Level | Notes |
|---|---|---|---|
| Unreal Engine 5, Lumen | 5 to 12 minutes | High, real-time GI | Fastest output; good for tight deadlines |
| Unreal Engine 5, Path Tracer | 35 to 90 minutes | Film-grade | Best reflections and lighting accuracy |
| V-Ray GPU (RTX 4090/5090) | 10 to 25 min per frame | High, frame-accurate | Complex glass and fabric scenes take longer |
| V-Ray CPU (Threadripper PRO 64-core) | Hours per complex frame | Highest control | Best for dense geometry and complex lighting setups |
Cloud render farms using NVIDIA RTX 6000 Ada Generation nodes (48GB VRAM) run at approximately $8 to $10 per hour per node. The same 2-minute walkthrough on a cloud RTX 4090 costs roughly $0.70 to $1.65 with Lumen or $5 to $12.30 with Path Tracer.
How FPS Multiplies Render Cost
Frame rate multiplies all of these numbers directly:
- A 30fps file is 25% more frames than a 24fps file
- A 60fps file is 150% more frames
- A project budgeted at 24fps that switches to 30fps mid-production adds 25% to render time and cloud cost
In our studio, projects with complex interior glass, water, or translucent materials go through V-Ray CPU on our AMD Ryzen Threadripper PRO 64-core render farm. Real-time preview and client revision rounds happen in Unreal Engine 5 on RTX 4090 workstations. The engine is chosen for what the scene requires, not for preference.
How to Brief Your Studio on Camera Speed
Most walkthrough briefs focus on the wrong things: resolution, colour palette, furniture detail. The brief should include the camera decisions too.
What Your Brief Should Include
- Shot list with timing: “Enter through the front door, reach the kitchen island in 4 seconds, hold on the island for 3 seconds, transition to the living room in 5 seconds.”
- FPS requirement: State 24fps or 30fps before production starts. Changing fps after the scene is built costs 25% of the render budget.
- Delivery platform: YouTube, Vimeo, and most real estate portals handle both. Broadcast or conference presentations may have specific format requirements.
- Focal points with hold durations: “The bedroom wardrobe should read clearly as integrated joinery, not as a flat wall” is a useful brief. “Show the bedroom” is not.
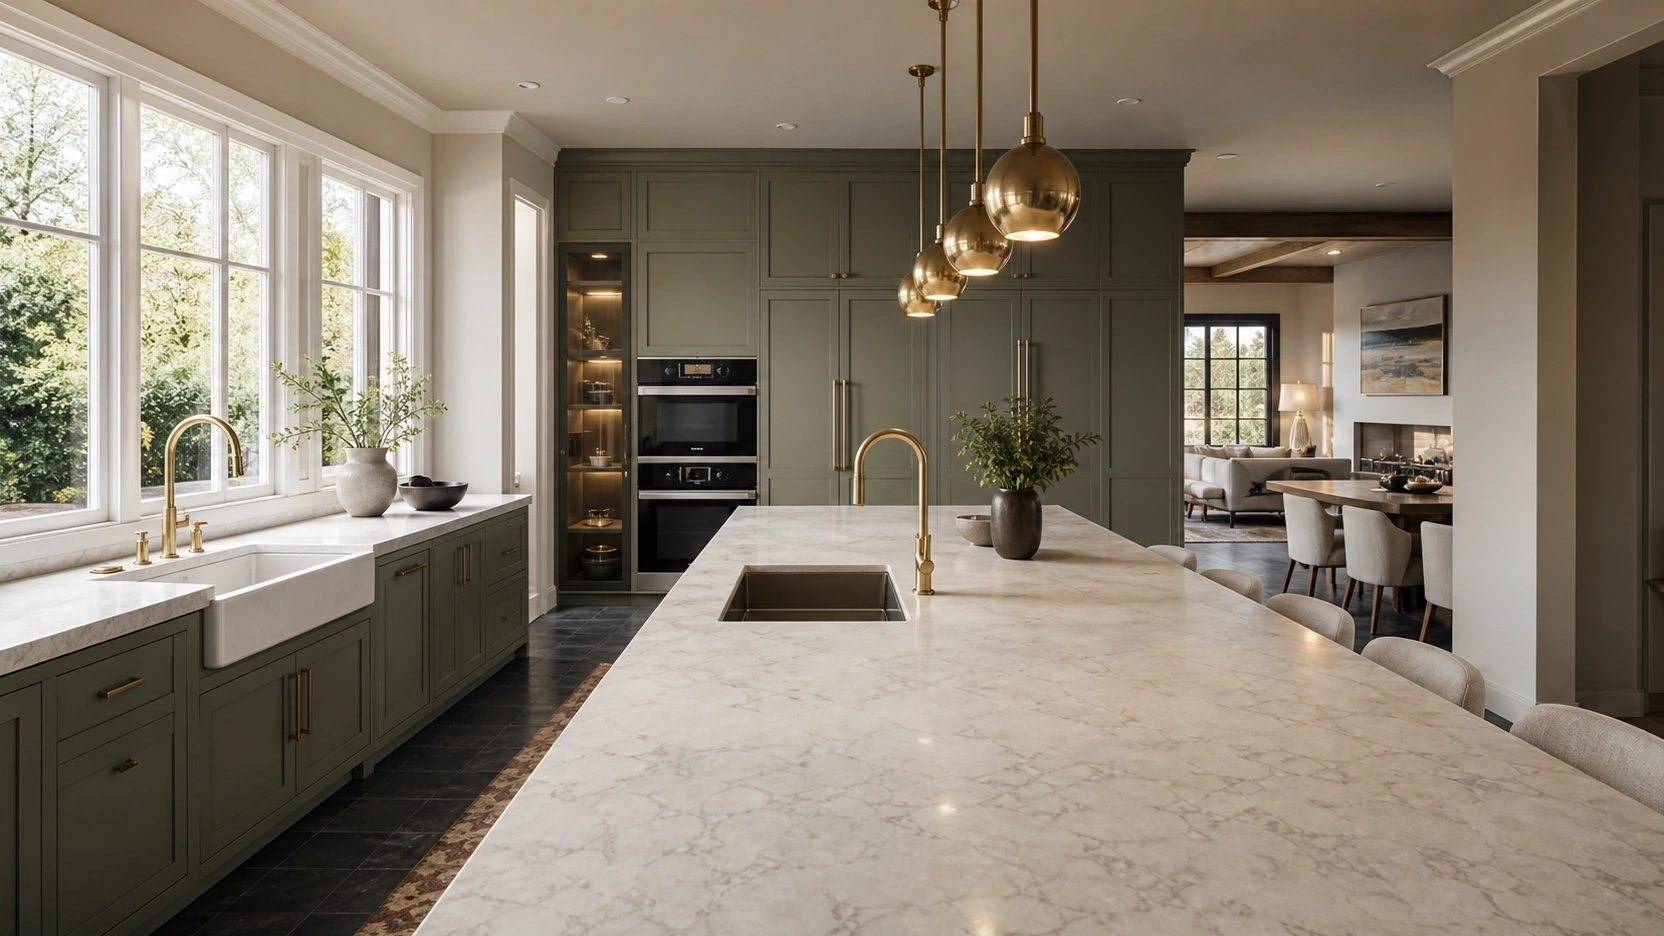
At RenderInfinity, we send clients a one-page camera brief form before any walkthrough project begins. It cuts average revision rounds from 2.7 to 1.2, saving both sides time and budget. For more on how our architectural animation services are structured, visit our service page.
The Bottom Line
- Camera height of 1,750mm to 1,800mm is the professional standard for any 3D architectural walkthrough; it replicates human eye level and preserves spatial scale.
- Interior pacing runs 0.8 to 1.2 m/s; corridor transitions run 1.2 to 1.5 m/s; exteriors run 2.0 to 4.0 m/s.
- 24fps is the cinematic standard for investor and luxury presentations; 30fps is the real estate web delivery standard; 60fps is for VR and interactive only.
- On an RTX 4090, a 2-minute 4K walkthrough takes 5 to 12 minutes with Unreal Engine 5 Lumen or 35 to 90 minutes with Path Tracer; every fps step up adds proportional render cost.
- Brief your studio on fps and focal points before production starts; a mid-project fps change adds 25% or more to the render budget.
At our 3D architectural visualization studio, every walkthrough project starts with a structured camera brief that locks in fps, shot list, focal points, and delivery format before production begins.
FAQ
What camera height should a 3D architectural walkthrough use?
Lock the camera at 1,750mm to 1,800mm above floor level. This replicates natural human eye level and is standard across Unreal Engine, Lumion, Twinmotion, and 3ds Max workflows. Lower heights distort spatial perception and make ceilings appear taller than the design intends.
What is the best fps for an architectural walkthrough?
Use 24fps for cinematic, investor-pitch, or luxury output; 30fps for real estate listings and web delivery. 60fps is reserved for interactive or VR formats only. Moving from 24fps to 30fps adds 25% more frames to render and directly raises production cost. Match fps to delivery platform before production starts.
How fast should the camera move in a 3D walkthrough?
0.8 to 1.0 m/s for detail-rich interiors; 1.2 to 1.5 m/s for corridors and transitions; 2.0 to 4.0 m/s for exterior flythroughs. Apply ease-in and ease-out at every keyframe transition. A camera that accelerates and decelerates naturally reads as produced; one that moves at constant speed reads as automated.
How long does it take to render a 3D architectural walkthrough?
On an RTX 4090, a 2-minute 4K walkthrough takes 5 to 12 minutes with Unreal Engine 5 Lumen or 35 to 90 minutes with Path Tracer. V-Ray GPU on the same hardware typically runs 10 to 25 minutes per complex interior frame. Cloud render at $8 to $10 per hour scales these times to dollar figures directly.
What should I include in a walkthrough brief to my studio?
Provide the floor plan, a shot list with timing (not just “show every room”), specified fps, delivery platform, and a list of focal points with hold durations in writing. Stating these upfront reduces revision rounds and keeps the render budget on target.
Conclusion
The quality gap between a good and a professional walkthrough is not the renderer or the textures. It is the camera: height, speed, easing, and frame rate. These decisions get made before a single frame renders, and changing them mid-project costs real money.
If you are commissioning a 3D architectural walkthrough or reviewing one from a studio, the camera brief is the document that controls the outcome. At RenderInfinity, every walkthrough project starts with a structured camera brief that locks in fps, shot list, focal points, and delivery format before modelling begins.
If you’re planning a residential, commercial, or real estate project, explore our 3D walkthrough animation services to see how we create cinematic architectural presentations.