

How to Populate Exterior 3D Visualization with People That Look Real
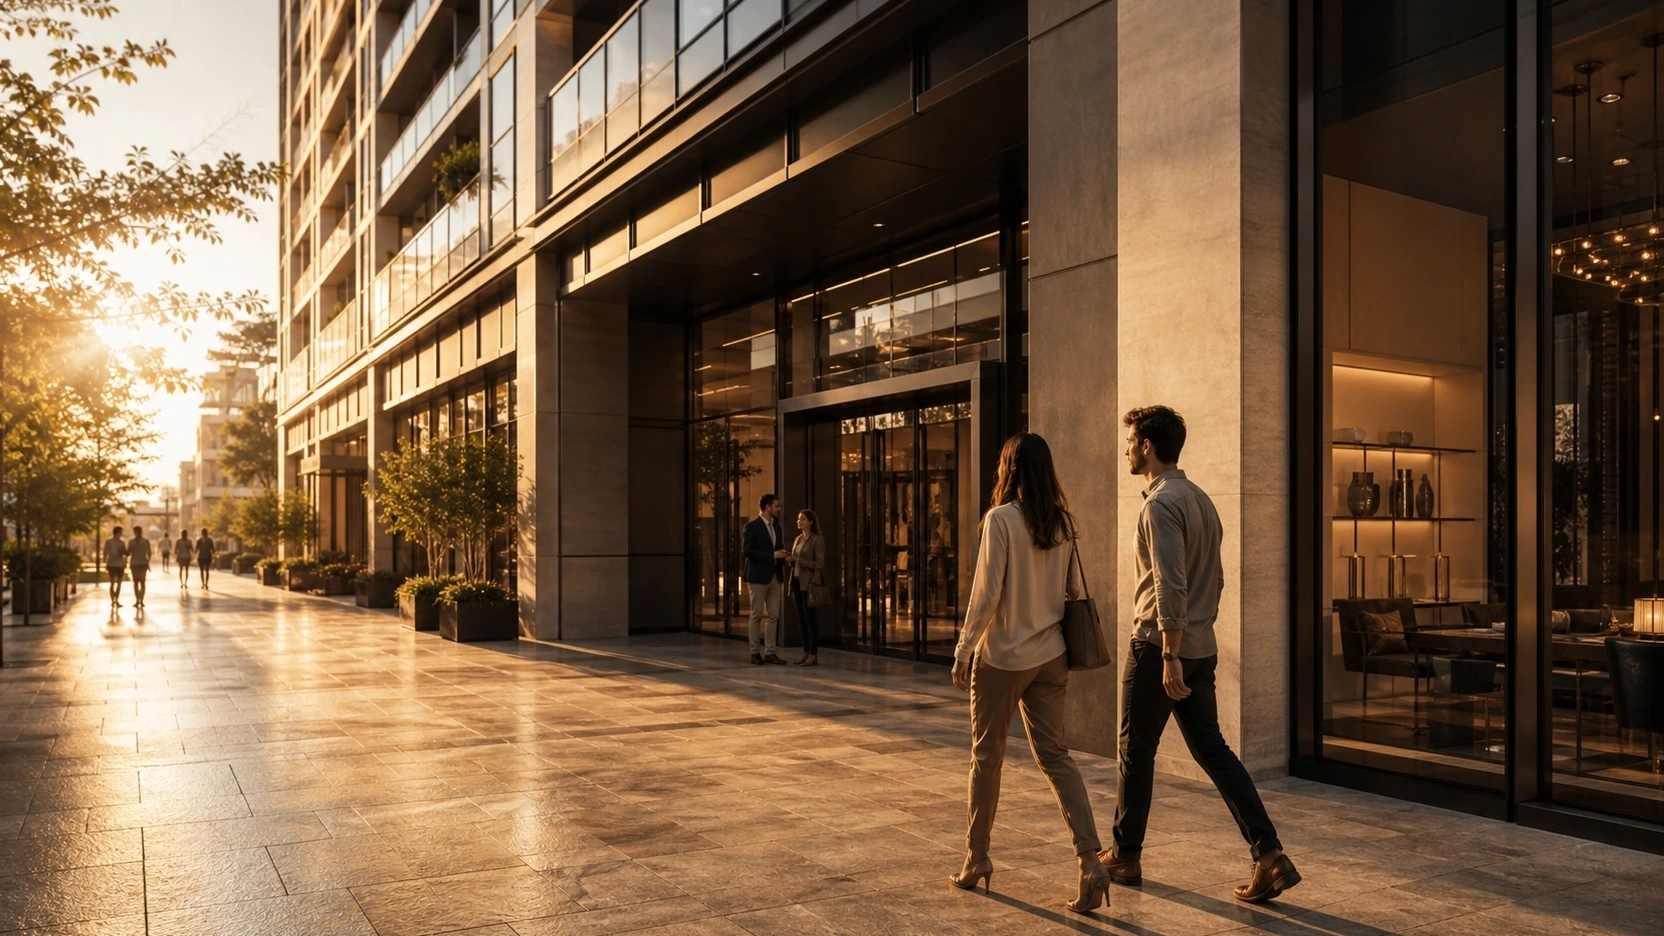
Why People Make or Break an Exterior 3D Visualization
Scale Is the First Problem
Scale errors are the fastest route to an uncanny-valley render. The standard adult reference height is 1.70m to 1.85m. A standard exterior door is 2.1m. These two numbers are your first two sanity checks before any figure goes into the scene.
If a figure stands taller than the door frame, the scale is broken. If figures are shorter than a car bonnet, the scale is broken. Both situations communicate immediately that the image is not real, and once that perception registers it cannot be reversed.
The most common cause of scale errors in exterior 3D visualization is a mismatched system unit setup. Renderpeople and AXYZ Anima 3D figures are captured from real humans at 1:1 scale. When scene units are set to metres, they import at the correct height automatically. If figures appear too large or too small, the fix is almost always in the scene unit settings, not the figure itself. Set 1 unit to equal 1 metre, verify against a door or storey height, then place figures.
Camera placement affects the scale read too. Set the camera eye level at 1,600mm to 1,750mm above the ground plane. At this height, the horizon line will intersect naturally with adult eye levels on the same ground plane, which is the visual signal that communicates shared gravity.
The Narrative Purpose of Each Figure
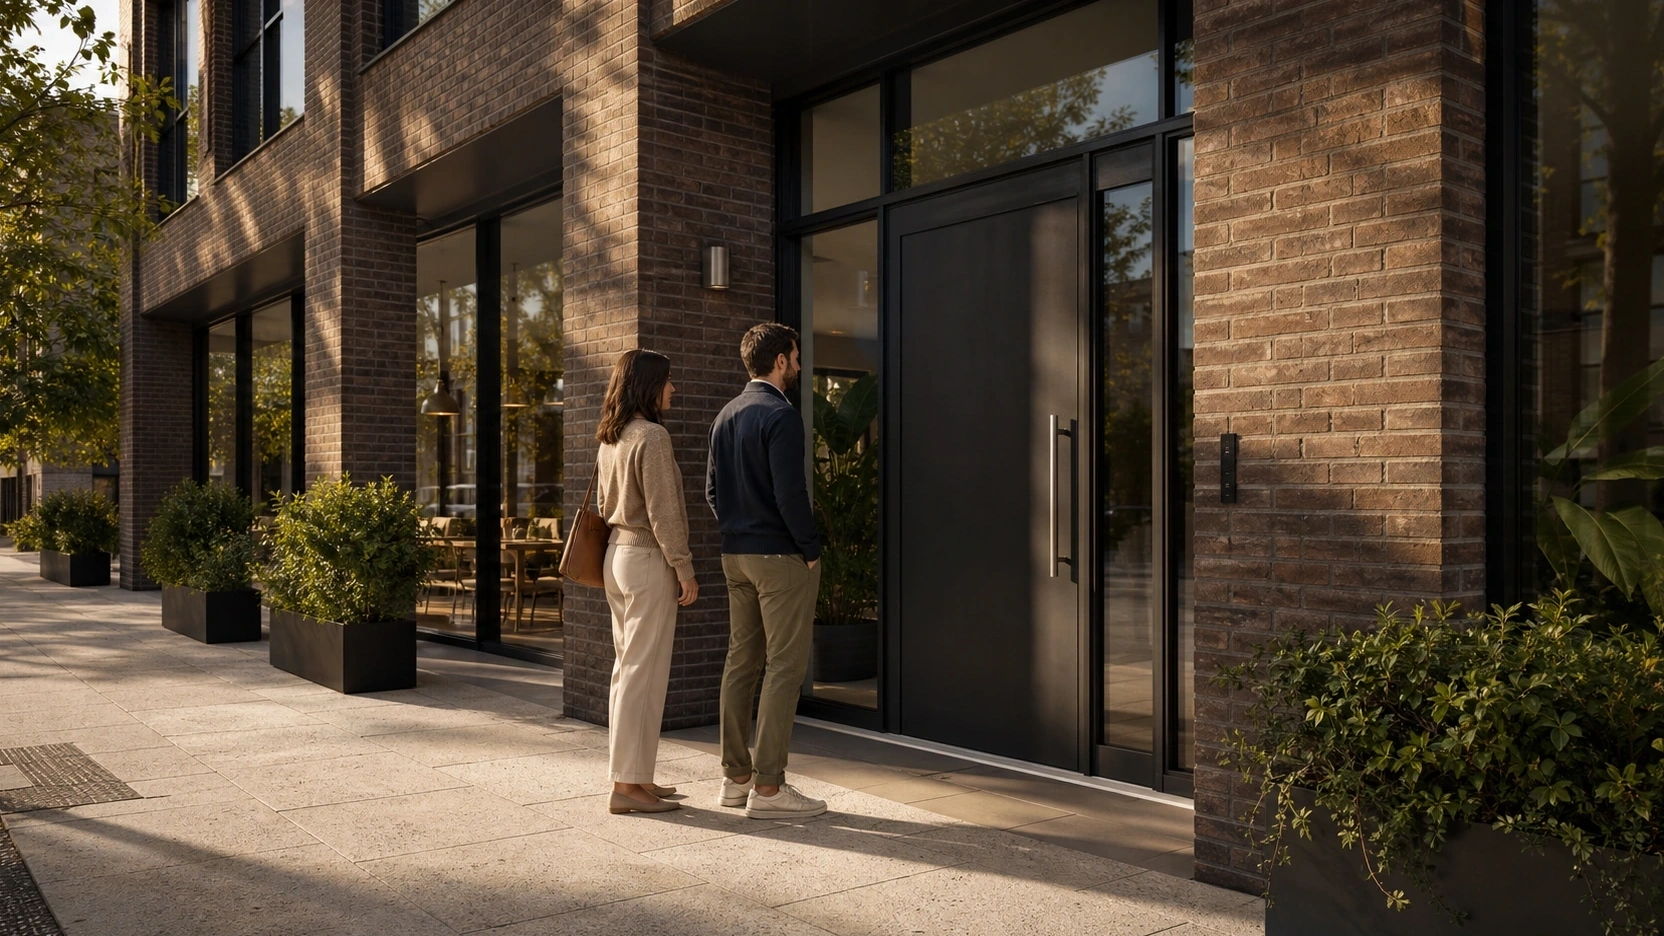
Every figure placed in an exterior 3D visualization needs a reason to be there. Walking toward the building entrance, sitting at an outdoor table, looking into a retail window, waiting at a crossing. These are purposeful actions. A figure standing in the middle of an empty pavement with no clear direction reads as a placed object, not a person, and the viewer’s eye rejects it.
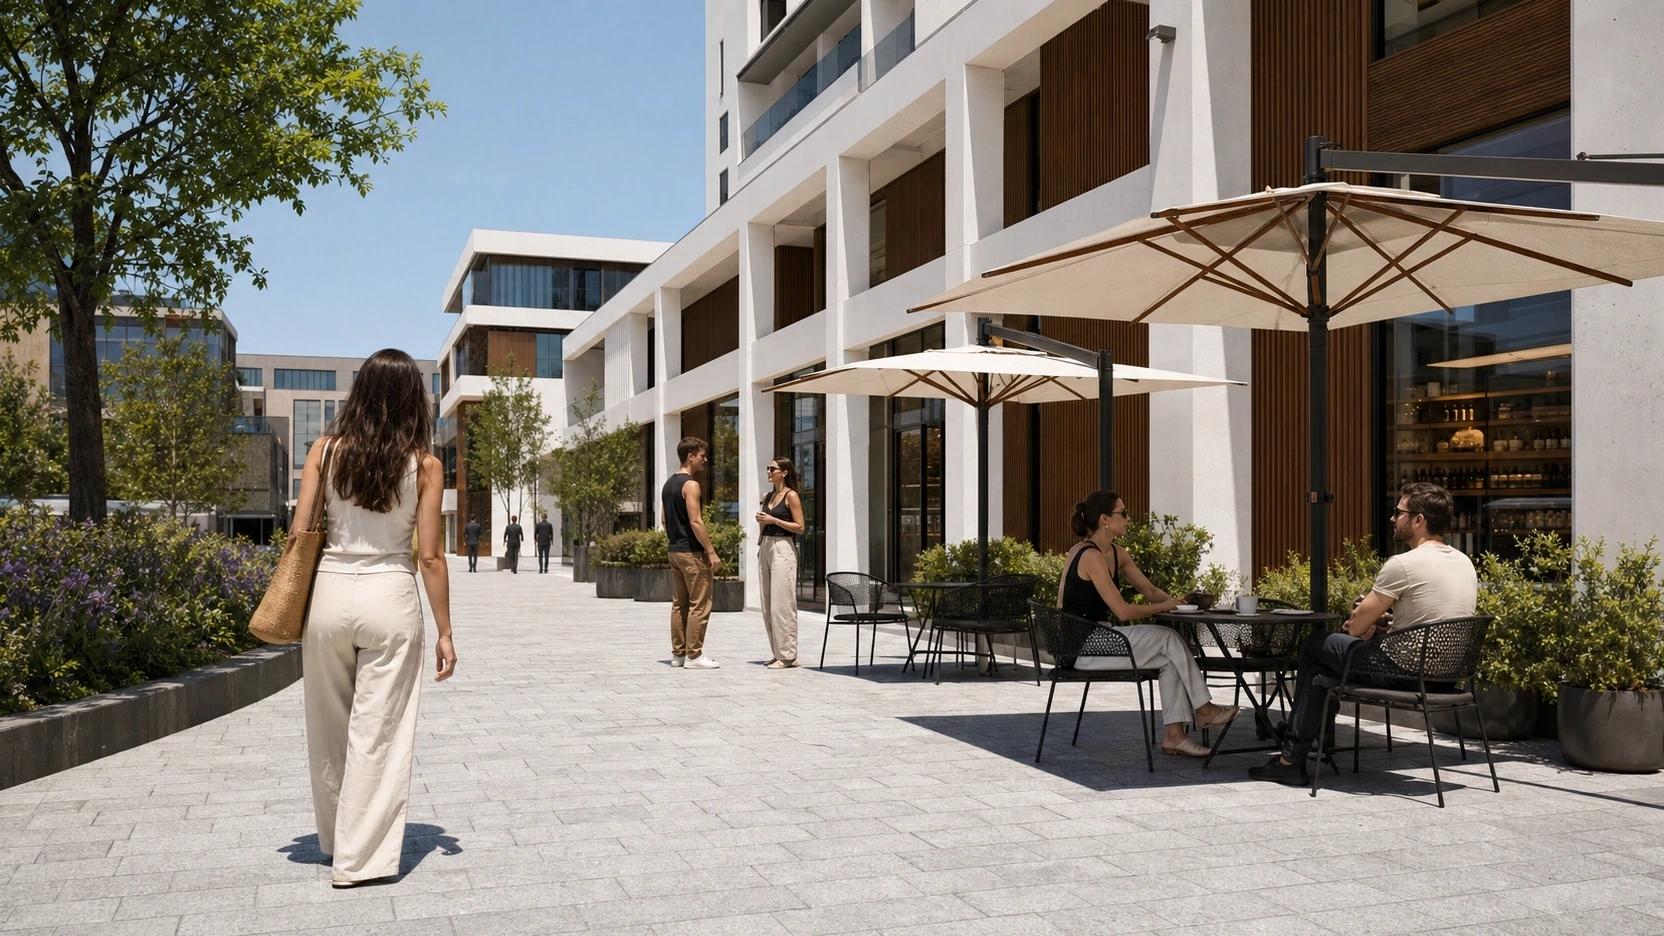
Purposeful placement also sets the tone. Commercial and retail scenes need active, directional figures: people in motion, groups interacting, density that communicates a working, viable space. Luxury residential scenes need the opposite: sparse, calm, almost incidental figures who look like they belong to the space rather than populating it.
Foreground, Mid-Ground, and Background Zones
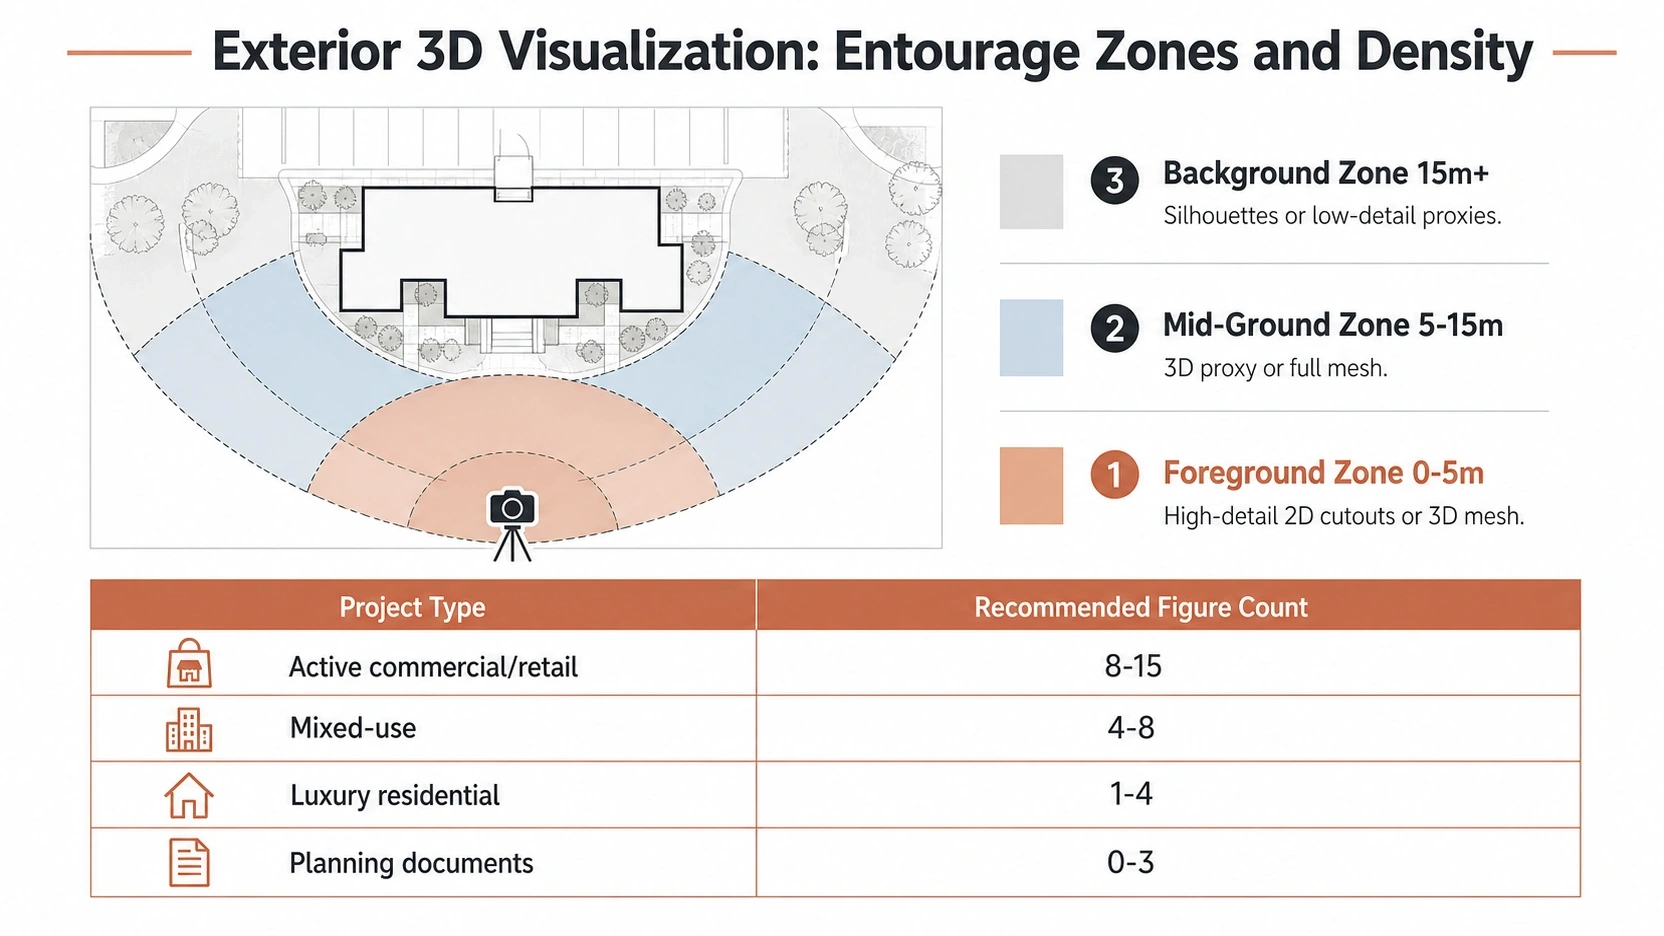
Dividing the scene into three zones controls both quality and render efficiency.
Foreground Zone (0 to 5 Metres from Camera)
Foreground figures receive the most scrutiny at render resolution. Use high-resolution 2D cutouts from Renderpeople or Maxtree, or place full 3D mesh figures. Anything less will show at final output.
A few specific rules for foreground placement:
- Limit foreground figures to 2 to 3 people maximum. More than that competes with the architecture.
- Contact shadows are mandatory. In V-Ray or Corona, use a shadow matte plane beneath each figure. In Photoshop post-production, paint a soft shadow at the base of the figure oriented to match the scene light direction.
- Avoid front-facing figures looking toward the camera. Rotate figures 30 to 90 degrees from the camera axis. Side-on and three-quarter-turn poses integrate more naturally.
Mid-Ground Zone (5 to 15 Metres)
The mid-ground is the primary narrative zone. This is where purposeful activity lives: groups gathered at a building entrance, people crossing at different angles, outdoor seating occupied. Full 3D figures or proxy meshes work well here because they interact correctly with ground geometry and cast proper shadows from the scene lighting.
Density in the mid-ground depends on project type. For an active urban scene, 4 to 8 figures across this zone creates a credible sense of use. For residential, 0 to 2 figures, each placed with a specific intent.
Background Zone (15 Metres and Beyond)
At 30 metres from camera at standard render resolutions, a figure resolves to roughly 30 to 80 pixels. High-detail 3D models in the background zone consume geometry budget without contributing visible quality. Low-detail proxy figures, silhouettes, or slightly motion-blurred cutouts serve the same compositional function at a fraction of the processing cost.
Background figures serve one purpose: depth. They communicate that the space continues beyond the immediate frame, which is the visual cue that makes an exterior scene read as a real urban environment rather than an isolated building shot.
For animated exterior walkthroughs, AXYZ Anima handles background crowd simulation with automated character distribution and LOD management. Unreal Engine 5’s LOD and nanite systems handle this natively in real-time environments.
Matching Entourage Lighting to the Scene
The most common reason an exterior render “looks off” is that the light on the figures does not match the scene light. Three things must match: light direction angle, shadow length, and colour temperature. If any of these disagrees between the figures and the environment, the image reads as composited rather than real.
Light Direction and Shadow Length
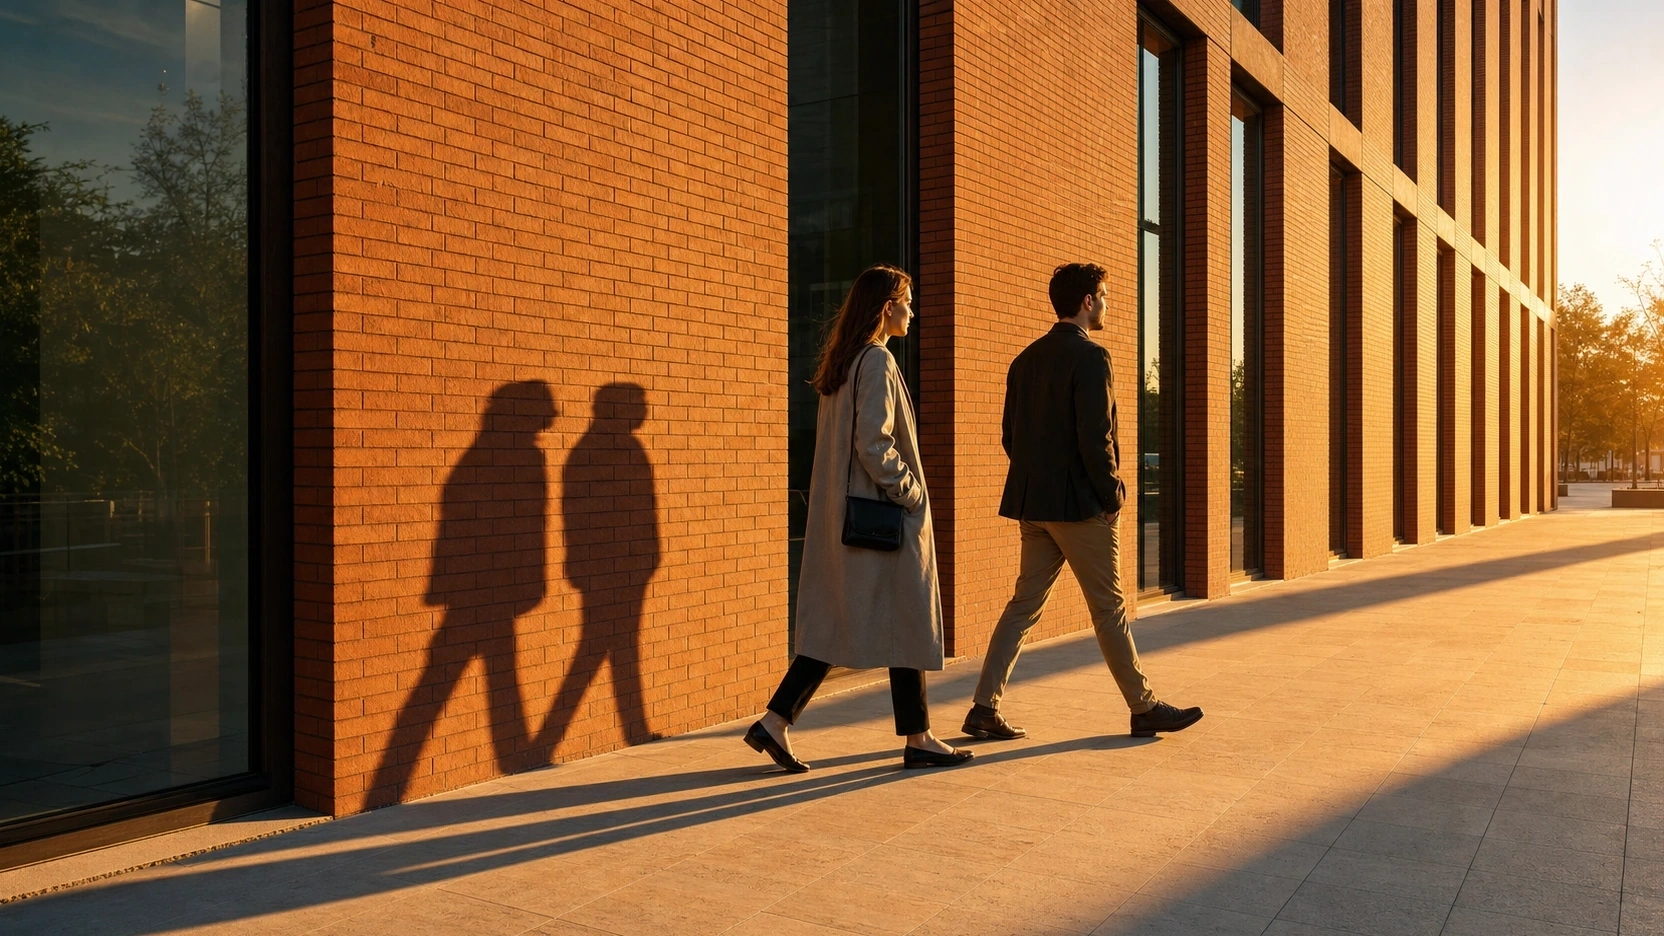
Identify the sun position in the scene HDRI before placing or compositing any figures. The shadow beneath each figure must fall in the same direction as the building shadows in the scene. If building shadows fall at a 40-degree angle to the left, every figure’s shadow falls at 40 degrees to the left.
Shadow length is a function of sun elevation. A low sun at golden hour (10 to 20 degrees elevation) produces long, stretched shadows. A high noon sun (80 degrees elevation) produces short shadows almost directly beneath the figure. Match this accurately or the figures appear to be in a different time of day from the building.
For 2D cutout figures composited in Photoshop, measure the shadow angle and approximate length from a nearby building element in the render. Apply the same angle and proportional length to the drop shadow on each figure.
Colour Temperature
Colour temperature mismatch is the subtler version of the same problem. A golden hour scene (HDRI colour temperature: 2,700K to 3,500K warm) requires warm highlights on the lit side of each figure, amber or orange in the highlight, and cool blue-grey in the shadow. An overcast midday scene (HDRI: 8,000K to 10,000K, cool blue diffuse) requires soft, even, directionless light on the figures with no strong highlight.
For 3D figures placed directly in the scene, the scene HDRI handles colour temperature automatically. For 2D cutouts composited in post-production, add a colour balance or photo filter layer above each figure, match to the scene HDRI, and merge before any global colour correction.
At RenderInfinity, we run a lighting pass check on every exterior figure before finalising the composite. Foreground figures get individual review; background figures are handled in batch by matching to a reference colour swatch extracted from the HDRI.
Density Guidelines by Project Type
Different building types require different visualization strategies. Residential, commercial, and mixed-use developments all communicate occupancy differently, which is why the rendering approach changes between project types. See examples in our Exterior 3D Visualization portfolio.
It is a communication decision. The right density tells the viewer what kind of space this is and whether it functions as intended.
| Project Type | Recommended Figures (full frame) | Priority |
|---|---|---|
| Active commercial / retail | 8 to 15 | Vitality, viability |
| Mixed-use / urban residential | 4 to 8 | Balance of life and calm |
| Luxury residential | 1 to 4 | Architecture as subject |
| Planning / approval documents | 0 to 3 | Clarity of massing |
The empty-pavement trap: commercial and retail exteriors with no people, or just one figure at 100 metres distance, read as spaces that do not work. A lack of people in a scene designed for people signals failure before the client consciously registers why. Populate commercial scenes enough to suggest a Tuesday afternoon, not a Saturday at peak.
Common Entourage Mistakes and How to Fix Them
Floating Figures
Figures that appear to hover above the ground plane are the most immediately obvious entourage error. The fix is a contact shadow, applied in the same workflow step as figure placement.
In V-Ray and Corona, use a shadow matte object: a flat plane positioned at ground level directly beneath the figure, set to receive shadows only. The resulting shadow will be driven by scene lighting and match correctly without manual adjustment. In Photoshop post-production, paint a soft elliptical shadow at the figure’s feet at 20 to 35% opacity, oriented to match the scene light direction.
Mismatched Scale
If figures consistently appear wrong despite correct placement, verify the scene unit setup before adjusting any individual figure. Set units to metres, place a 1.75m reference box, and check figures against it. Use a door frame (2.1m) as secondary reference. Manual scaling of individual figures is not recommended.
Everyone Facing the Camera
A render where all figures are oriented toward the camera reads immediately as staged. Vary orientations deliberately. In a group of six figures, no more than one should face toward the camera. The remaining five should face in different directions relative to the camera axis.
What to Remember
- A 1.75m adult figure next to a 2.1m door is the fastest scale check in any exterior 3D visualization. If the proportions are wrong, fix scene units before adjusting figures.
- Zone placement controls quality and efficiency: high-detail figures in the foreground (0 to 5m), narrative activity in the mid-ground (5 to 15m), proxy depth in the background (15m+).
- Three things must match between figures and scene: light direction angle, shadow length, and colour temperature. Mismatch any one of these and the composite reads as fake.
- Density is a communication tool: commercial exteriors need 8 to 15 figures; luxury residential needs 1 to 4; planning documents need 0 to 3.
- Every figure needs a reason to exist in the frame. If you cannot name what the person is doing, remove them.
Frequently Asked Questions
How many people should be in an exterior 3D visualization?
Depends on project type. Commercial retail: 8 to 15 figures across the full frame. Luxury residential: 1 to 4 maximum. Planning documents: 0 to 3 for building clarity. The rule is to match density to the intended atmosphere of the space, not to fill empty space for its own sake.
Why do the people in my exterior rendering look fake?
Three causes in order of frequency. First, no contact shadow at the figure’s feet creates the floating effect. Second, the lighting colour temperature on the figures does not match the scene HDRI. Third, scale is wrong because scene units are not set to metres. Fix scale first, then lighting match, then shadows.
What is the best format for entourage figures in exterior renders?
Foreground zone (0 to 5m): high-resolution 2D cutouts or full 3D mesh figures. Mid-ground zone (5 to 15m): 3D proxy figures or full mesh. Background zone (15m+): low-detail proxies, silhouettes, or blurred cutouts. For animated walkthroughs, AXYZ Anima handles crowd simulation with automated LOD and distribution.
How do I match entourage lighting to my exterior scene?
Identify the sun position in the scene HDRI. Match three things: shadow direction angle (same as building shadows), shadow length (determined by sun elevation), and colour temperature (warm for golden hour, cool and diffuse for overcast). For 3D figures placed in-scene, the HDRI handles this automatically. For 2D cutouts in post-production, apply a colour balance layer matched to the scene before merging.
Should foreground figures face the camera?
No. Front-facing figures break the fourth wall and signal that the image is constructed. Rotate foreground figures 30 to 90 degrees from the camera axis. Side-on and three-quarter-turn poses integrate naturally. In a group of six figures, limit front-facing figures to one, and only if a narrative reason exists.
Conclusion
Entourage is not a finishing touch added after the render is done. It is a design communication tool, built into the scene from the brief stage. The scale, density, zone assignment, and lighting match decisions happen in parallel with camera setup, not after.
At RenderInfinity, figure placement is part of every exterior project brief. We specify figure count, zone assignment, and lighting treatment before the first asset goes into the scene. The result is an exterior render where people read as real rather than placed, and the architecture stays as the visual subject.
If you are working on an exterior project and need photorealistic visualization, visit our exterior rendering services page or contact us for a project quote.