

Focal Length in Rendering for Interior Design: What Each Setting Actually Does
The Three Focal Lengths Used in Interior Design Rendering
24mm – The Space Lens
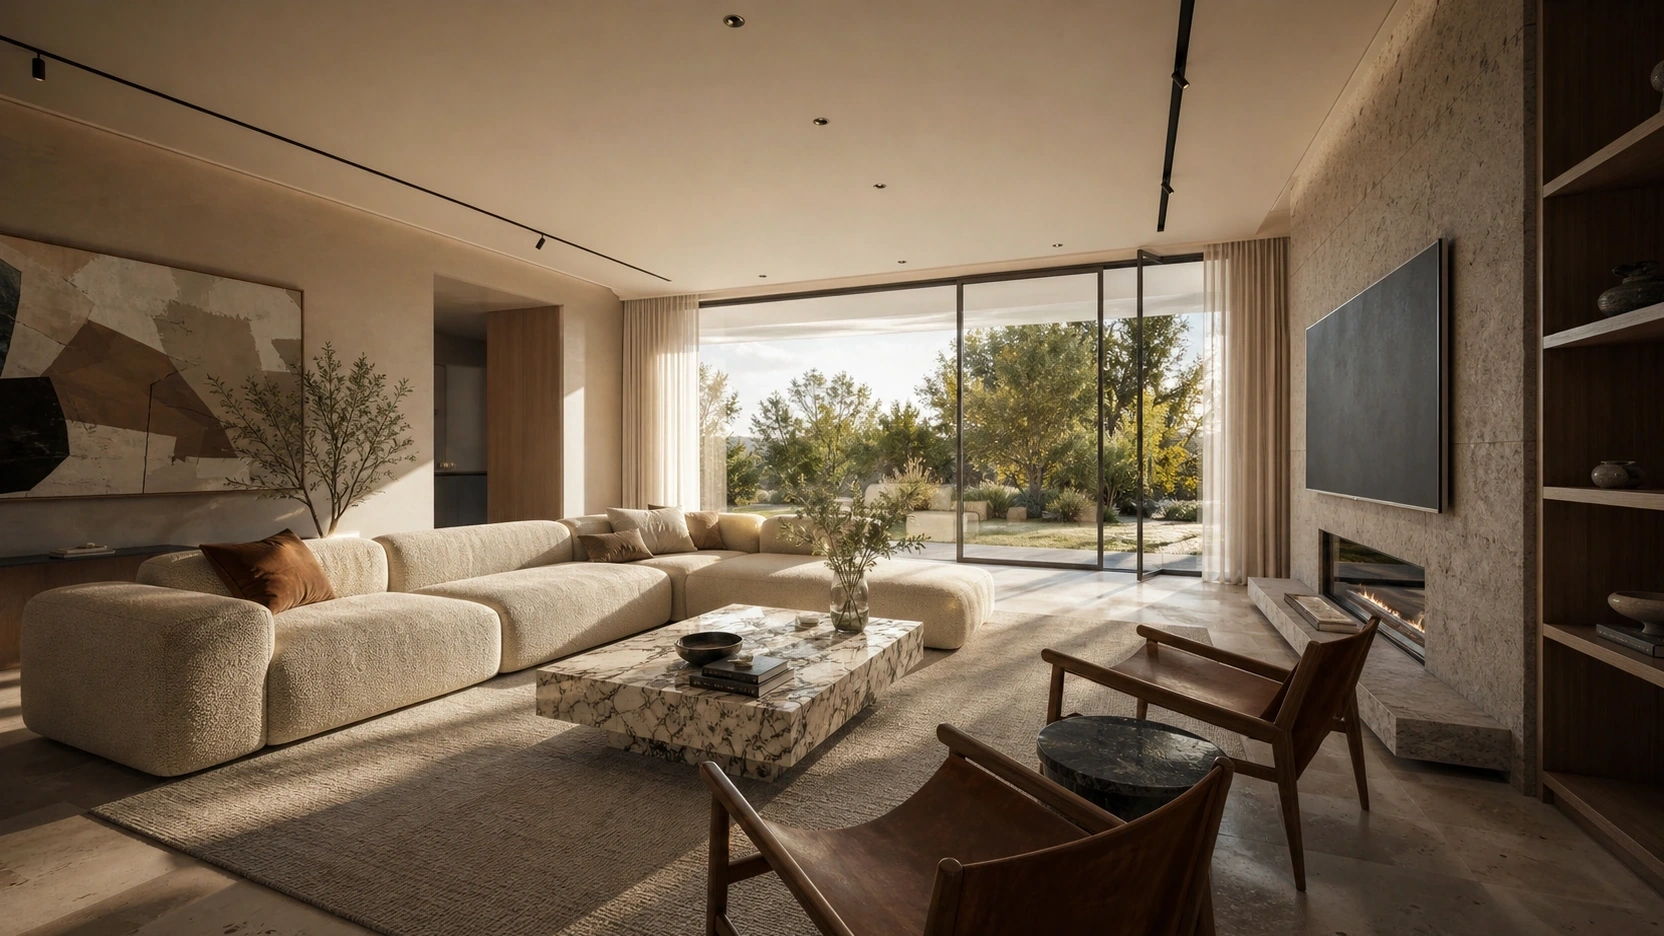
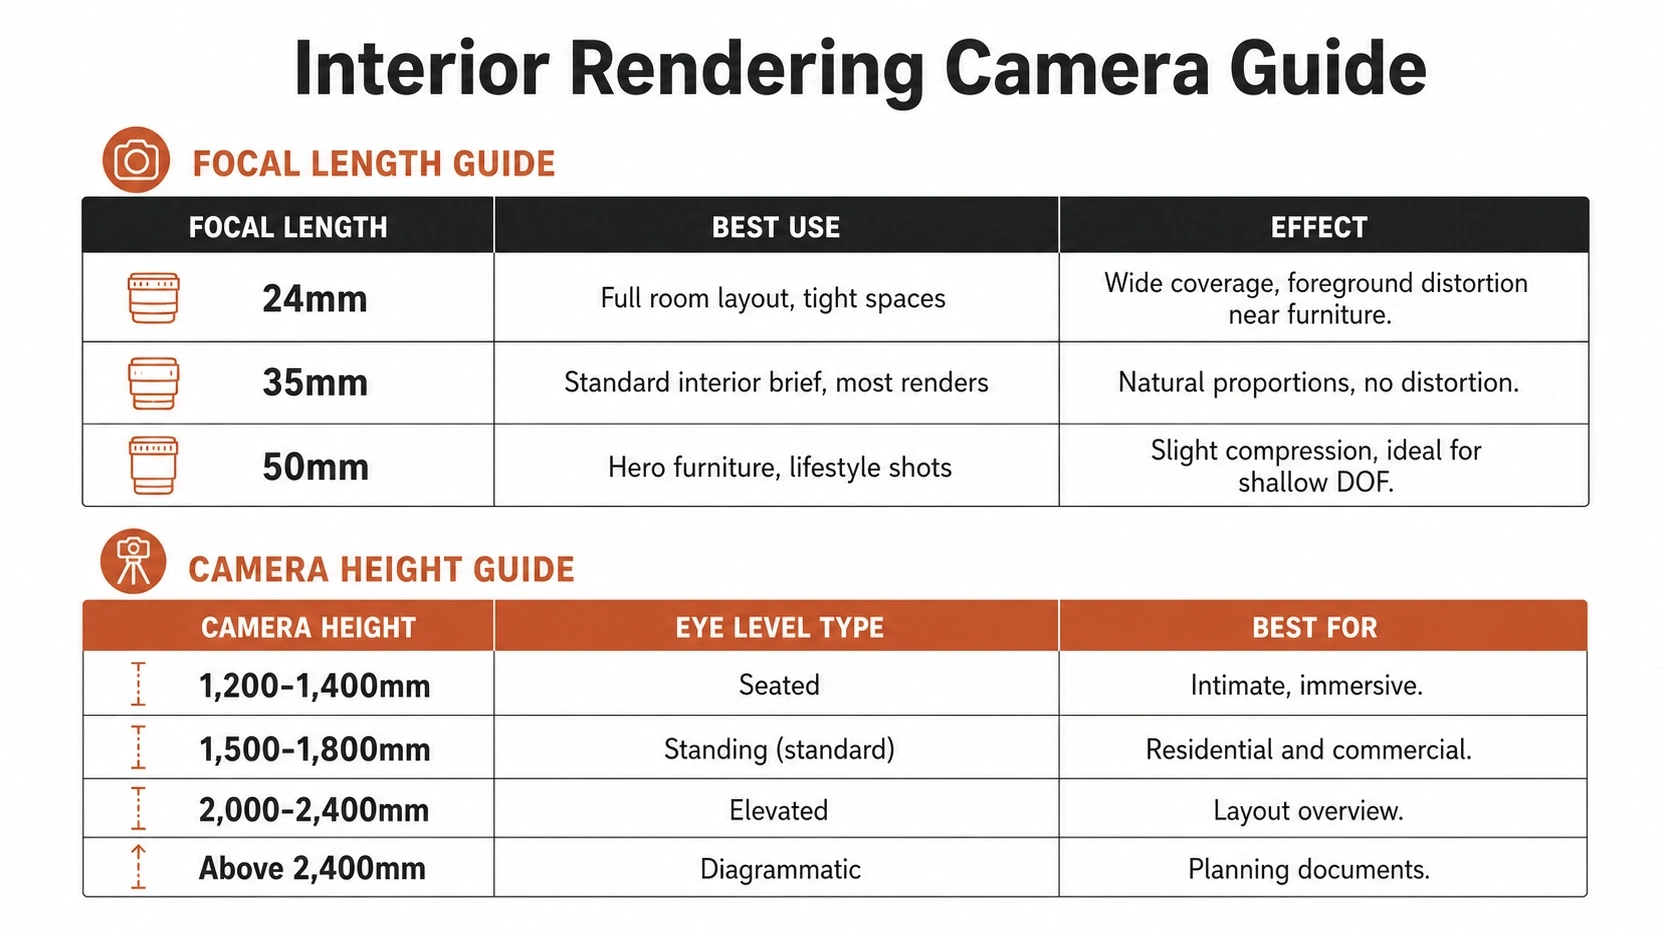
24mm is the widest focal length used professionally in rendering for interior design. It shows more room. In a tight space, a 5-metre square living room, a narrow hotel corridor, or a galley kitchen, 24mm is often the only way to get the full layout into a single frame.
The trade-off is foreground distortion. When the camera is 1 to 2 metres from a piece of furniture, objects at the frame edge appear stretched. Chair legs widen at the base. A dining table top curves slightly toward the camera. This is not a flaw in the lens. It is perspective distortion caused by camera-to-subject distance. Moving the camera further from the furniture reduces it; reducing focal length below 24mm makes it worse.
When to use 24mm:
- A room where the brief requires showing the full layout in one shot
- Tight residential spaces where camera position is limited
- Commercial and hospitality interiors where the scale of the space is the selling point
When to avoid: luxury residential renders where the space already has volume. A 24mm in a large room makes it look significantly larger than it is, which creates a negative experience when the client visits and the space does not match the image.
Projects that require realistic marketing visuals often benefit from working with a professional interior rendering service.
35mm – The Standard
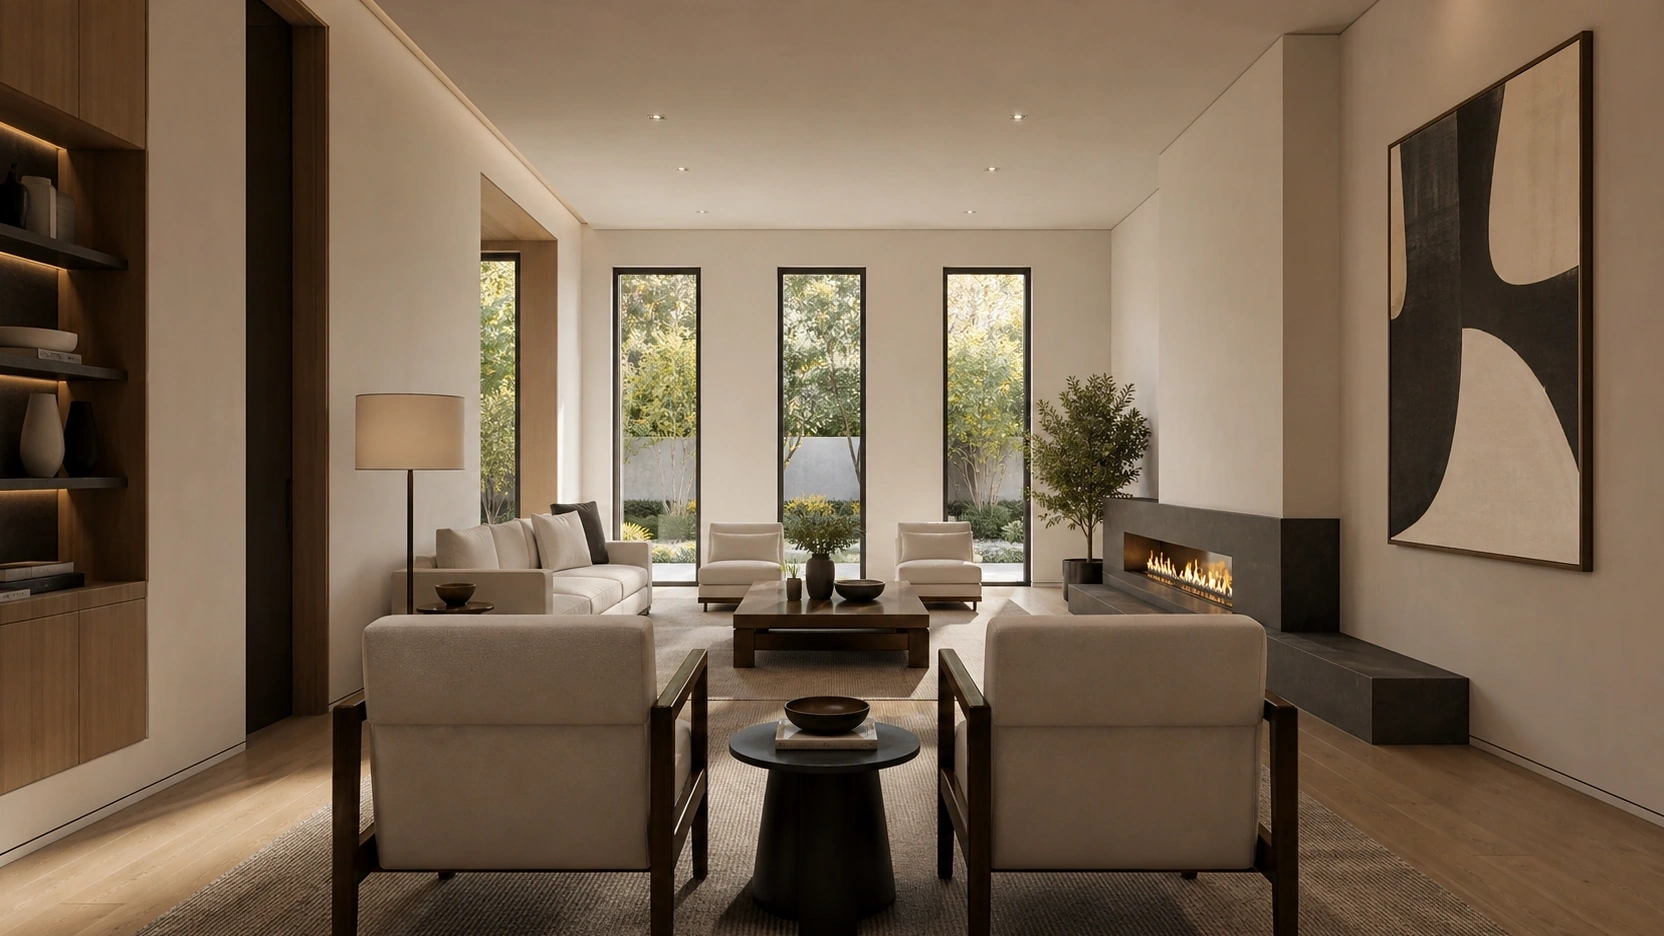
35mm is the default for professional interior design rendering. It is the focal length closest to natural human vision (the full-frame equivalent of the human eye’s central field of sharp focus is approximately 43mm). It shows the room without distortion and without the compression that longer lenses apply. Vertical lines are parallel. Spatial proportions match the experience of standing inside the space.
In professional archviz commissioning, “send us a 35mm shot of the living room” is the standard camera brief. It is the starting point that clients expect unless a specific spatial effect is required.
The practical advantage in 3D rendering: physical walls are not a constraint. The V-Ray Physical Camera’s clipping planes allow the camera to sit outside the room geometry without moving any walls. A real architectural photographer in the same space would need 24mm or wider to get equivalent coverage. In 3D, 35mm is accessible regardless of room size.
Browse our interior rendering portfolio to see how different focal lengths influence the final presentation.
50mm – The Detail Lens
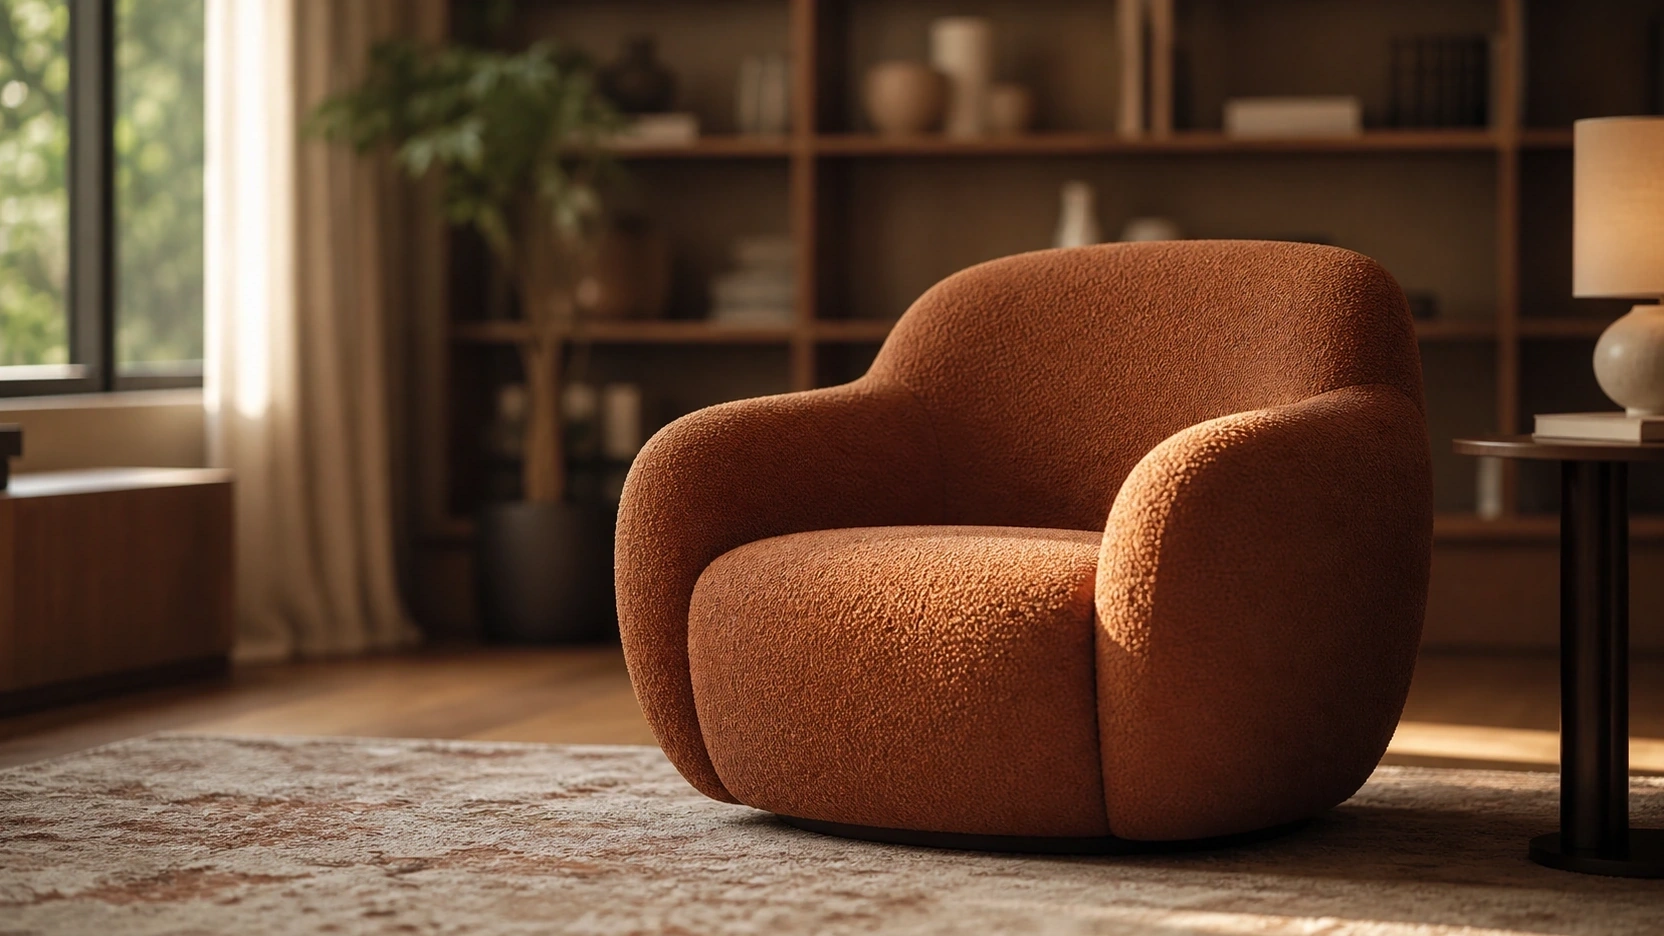
50mm is for hero shots and lifestyle moments. When the brief is “I want the sofa to be the subject,” or “I want to show the detail of this fireplace surround,” 50mm is the correct choice. It produces a slight compression of the background and no visible distortion. Combined with shallow depth of field (f/2.8 to f/4), 50mm produces the interior design magazine render: one perfect composition, one focal subject, everything else as soft atmosphere.
Camera Height and Its Effect on Space Perception
Standard Heights and What They Communicate
Camera height is the second major decision after focal length, and the two are interrelated. Industry standard heights for interior archviz:
- 1,200mm to 1,400mm: Seated eye level. Used for intimate spaces: home cinema rooms, low-ceiling loft apartments, banquette seating. Makes the viewer feel inside the space, not observing it.
- 1,500mm to 1,800mm: Standing eye level. Industry standard for most interior rendering. 1,600mm for residential. 1,700mm to 1,800mm for commercial where ceiling height and mezzanine levels need to be communicated.
- 2,000mm to 2,400mm: Elevated overview. Shows layout and furniture arrangement clearly. Reads as an “overview” rather than an “experience.”
- Above 2,400mm: Diagrammatic. No longer experiential. Used for planning documents and layout approval, not marketing imagery.
Camera Height and Focal Length Together
The combination of camera height and focal length sets the viewer’s entire spatial impression before they read the project brief.
A 24mm lens at 1,200mm height is dramatic and slightly disorienting. A 35mm at 1,600mm is natural and trustworthy: the spatial experience of a person standing in the room. A 50mm at 1,600mm with shallow DOF is editorial and selective: a lifestyle image, not a space image.
The residential luxury standard: 35mm at 1,550mm to 1,650mm. This combination produces the fewest client objections and the most accurate spatial impression of the built space.
V-Ray Physical Camera Setup for Interior Rendering
Core Settings
The V-Ray Physical Camera models a real-world DSLR. Using it correctly means treating it like one:
- Sensor: 36mm x 24mm full-frame (V-Ray default). All focal length recommendations in archviz assume full-frame equivalence.
- Focal Length: set to 24, 35, or 50mm based on shot type.
- Camera height: set using the camera’s Z position. Never use camera tilt to adjust what is in frame.
- Exposure: Shutter Speed, F-number, and ISO. Starting point for interior with natural daylight: Shutter 1/100, f/8, ISO 200.
- Depth of Field: enable in Physical Camera. Set Focus Distance to the distance from camera to the hero subject. F/2.8 to f/4 for selective focus; f/8 for sharp full-room overview.
Vertical Tilt and Keystone Correction
Vertical tilt occurs when the camera is pointed up or down, even by 2 to 3 degrees. All vertical lines — walls, door frames, furniture edges — converge toward a vanishing point. In interior design rendering, converging verticals are one of the clearest markers of an amateur camera setup.
The fix: keep the camera body perfectly level at all times. Move the camera up or down by adjusting its Z position, never by rotating the X axis. If framing requires seeing more of the ceiling or floor, apply Vertical Tilt correction (Lens Shift) in the V-Ray Physical Camera settings.
V-Ray includes an “Auto Guess Vertical Tilt” option that calculates the correction value automatically. If the Lens Shift value exceeds 0.2, foreground will begin to stretch noticeably. In that case, move the camera further back and use a longer focal length rather than applying extreme shift correction.
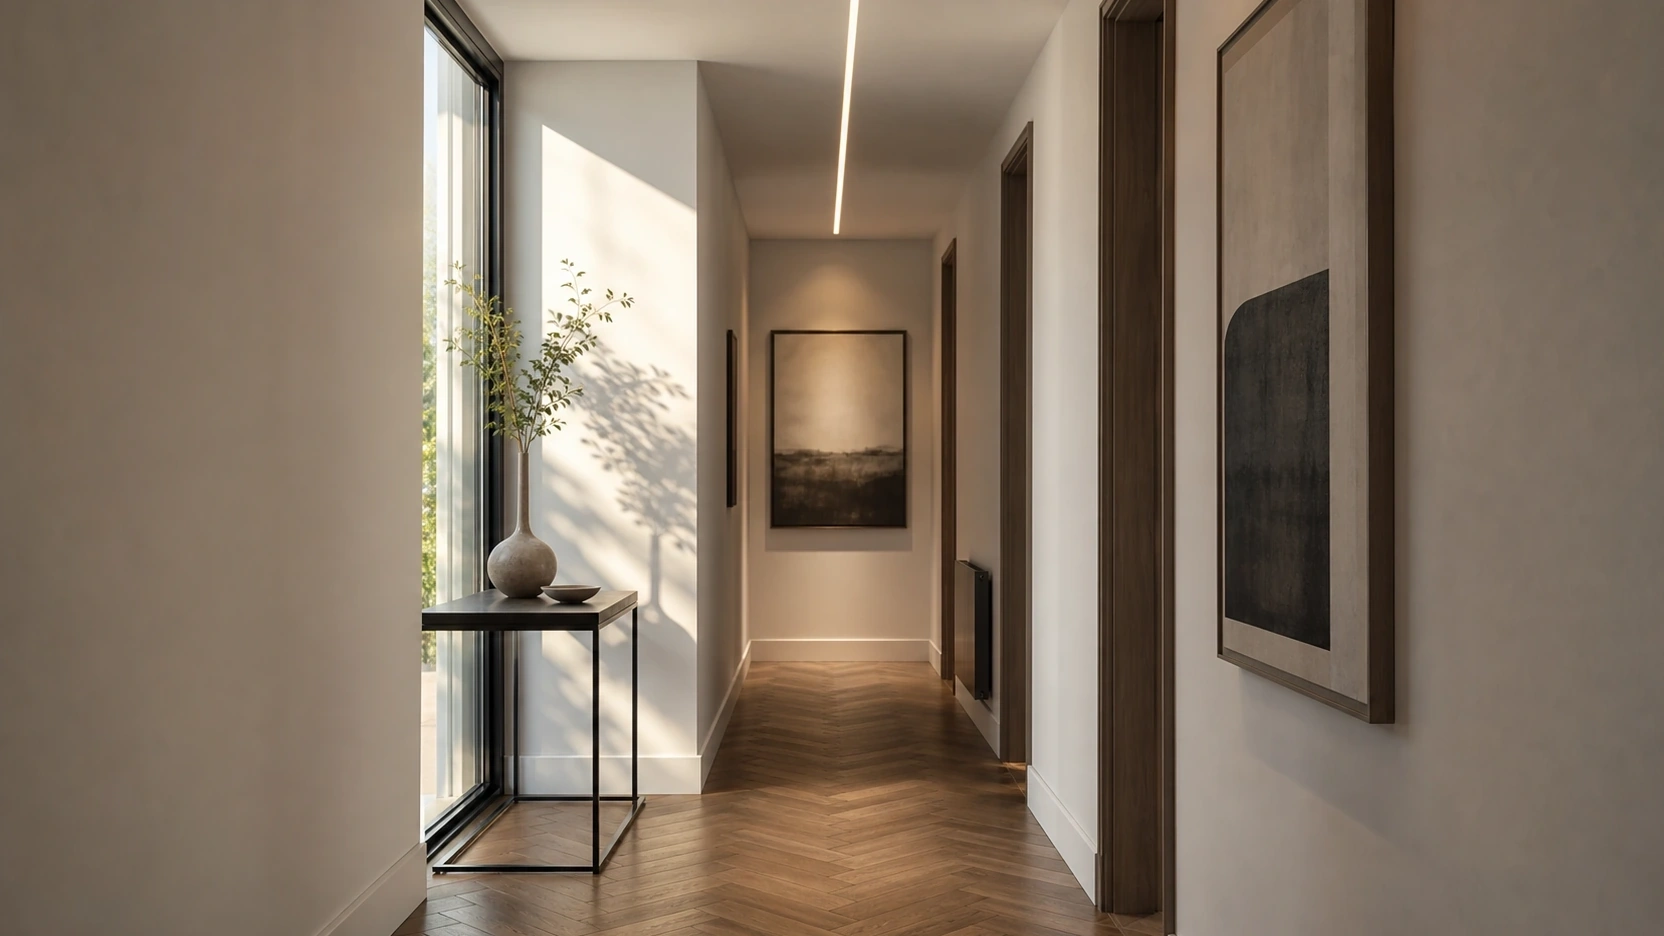
At RenderInfinity, vertical alignment is checked at the camera setup stage of every interior project brief, before any lighting or material work begins.
Depth of Field in Interior Design Rendering
Depth of field in rendering for interior design is a briefing decision, not a default setting. It determines whether the image reads as a spatial document or a lifestyle image.
The practical breakdown by lens and F-stop:
- 24mm at f/8 and above: the entire room is sharp from foreground to background. Correct for any brief requiring a full-room layout read.
- 35mm at f/5.6 to f/8: soft background falloff begins, but no objects are visibly blurred. The image reads as natural without drawing attention to the DOF effect.
- 50mm at f/2.8 to f/4: selective focus. The hero object is sharp; background and foreground dissolve into atmosphere. Standard for furniture marketing and lifestyle interior renders.
Render cost: depth of field increases render time. Two efficient approaches: increase sample count at the focal plane using V-Ray Bucket mode, or render without DOF and apply blur in Photoshop using a Z-Depth AOV for full post-production control without re-rendering.
For specialist interior design visualization, check our interior rendering portfolio page.
What to Know
- 24mm shows the room: volume, layout, spatial connection. Accept foreground distortion near furniture. Use for tight spaces and full-room layout briefs.
- 35mm shows the room as a person standing inside it would experience it. No distortion. Natural proportions. The professional default for interior design rendering. Accessible in 3D regardless of room size via V-Ray camera clipping planes.
- 50mm shows a moment. Selective focus at f/2.8 to f/4 isolates a hero furniture piece and turns a space render into a lifestyle image. Use when the brief focuses on one object.
- Camera height: 1,600mm for residential standing eye level. Combine with focal length deliberately. 35mm at 1,600mm is the residential luxury standard.
- Keep the camera body level. Apply V-Ray Vertical Tilt (Lens Shift) correction if geometry forces a tilt. Lens Shift above 0.2 stretches foreground: move the camera back instead.
Frequently Asked Questions
What focal length is best for interior design rendering?
35mm is the standard for most interior design rendering. It is the closest to natural human vision, produces no distortion, and shows the room’s true proportions. Use 24mm when you need to show the full room layout in a tight space. Use 50mm for hero furniture or lifestyle shots where one object is the primary subject and everything else is atmosphere.
What camera height should I use for interior rendering?
1,500mm to 1,800mm for standing eye level. 1,600mm is the residential standard; 1,700mm to 1,800mm for commercial where ceiling and mezzanine levels need to read in frame. Below 1,400mm reads as seated eye level. Above 2,000mm reads as an elevated overview. Never tilt the camera to compensate: adjust the Z position only.
How do I avoid distortion in interior rendering with a wide-angle lens?
Most distortion comes from camera-to-subject distance, not the lens itself. Keep the camera further from foreground furniture. In 3D, use V-Ray camera clipping planes to position the camera outside room walls without moving geometry. This allows 35mm or 50mm in spaces where a real photographer would need 24mm. Avoid focal lengths below 24mm and keep the camera body perfectly level.
How do I set up depth of field for interior design rendering in V-Ray?
Enable Depth of Field in V-Ray Physical Camera. Set Focus Distance to the distance from camera to the hero subject. Use f/2.8 to f/4 for selective focus on a furniture piece. Use f/8 for a sharp full-room shot. For cleaner DOF without noise, increase sample count at the focal plane, or render with a Z-Depth AOV and apply the blur in Photoshop for full control without re-rendering.
What is Vertical Tilt correction and when do I need it in interior rendering?
Vertical Tilt correction (Lens Shift) in V-Ray Physical Camera corrects converging verticals caused by a tilted camera. Any time the camera is pointed up or down, walls and door frames converge toward a vanishing point. Keep the camera level and adjust height via Z position. If tilt is unavoidable, use V-Ray’s Auto Guess Vertical Tilt. If Lens Shift exceeds 0.2, move the camera back and use a longer focal length instead.
Conclusion
Focal length is not a software setting. It is a communication tool. The focal length written into the project brief determines what the viewer understands about the space before they read a word of the project description. Getting it right is a briefing decision, not a rendering decision.
As a professional architectural rendering company, RenderInfinity specifies focal length and camera height before geometry is modelled or materials are applied for every interior project.. The camera setup is the first decision in every project, not the last. If you are planning an interior visualization and want camera treatment that accurately represents the design, visit our interior rendering services page or send us your project brief.