

The Full Technique Guide To Create Seamless Room Transitions In Architectural Walkthroughs
These are the same fundamentals we appliy across our recent walkthrough projects.
The Two Types of Architectural Walkthrough Transitions
Not every room change in an architectural walkthrough needs the same solution.
Continuous Motion
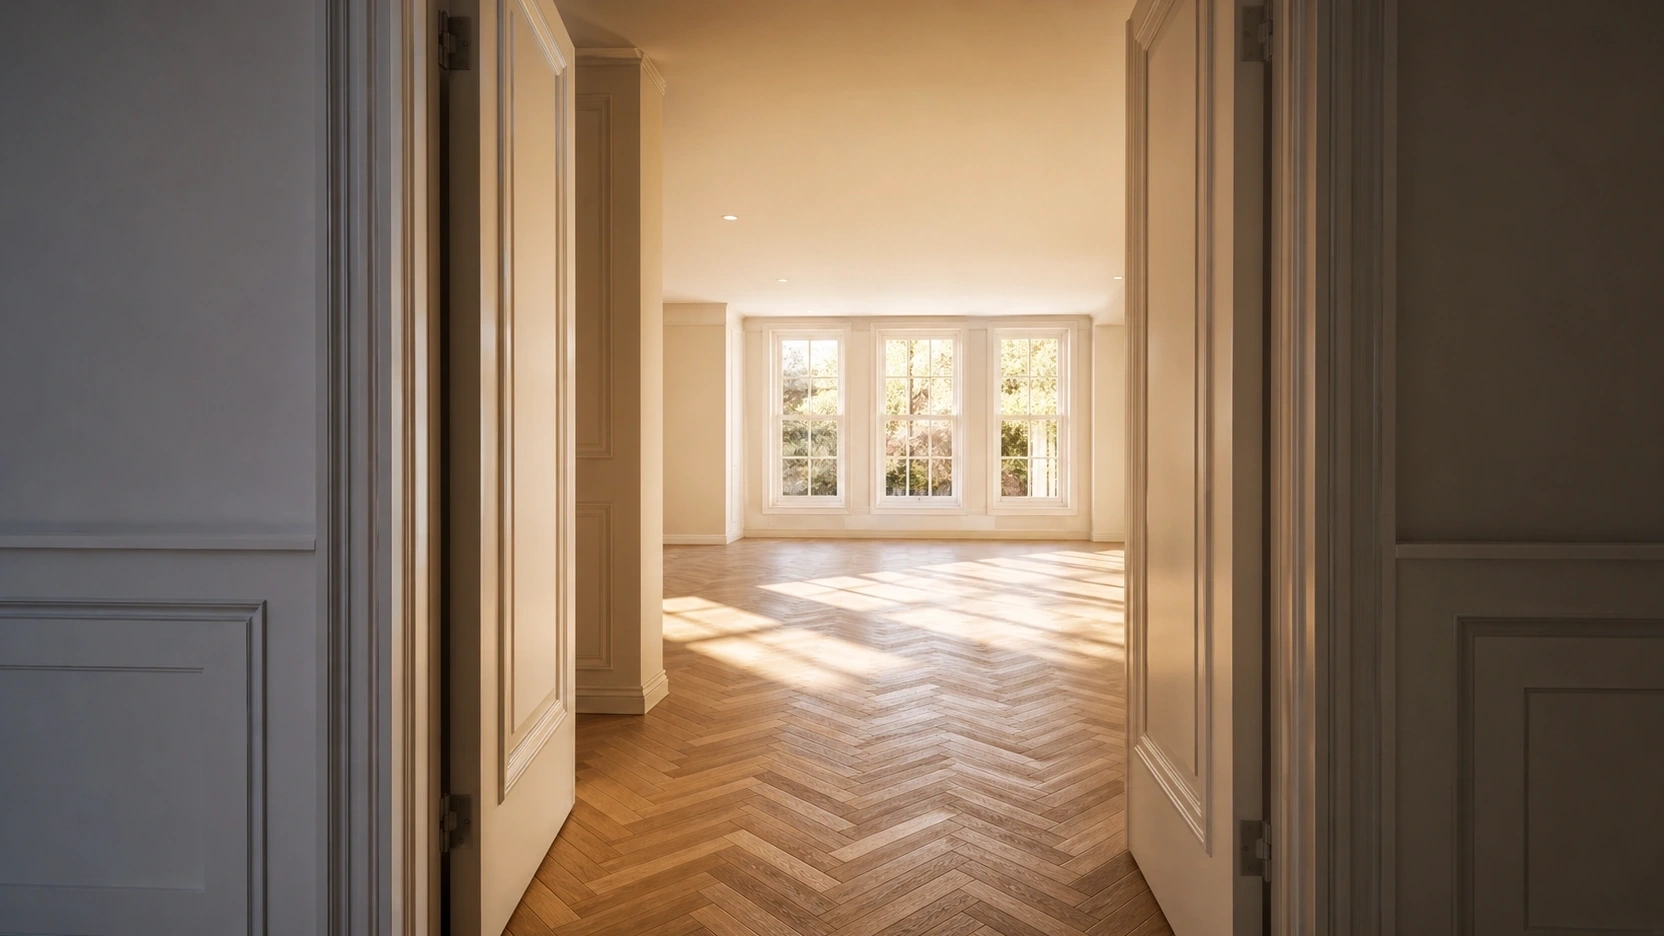
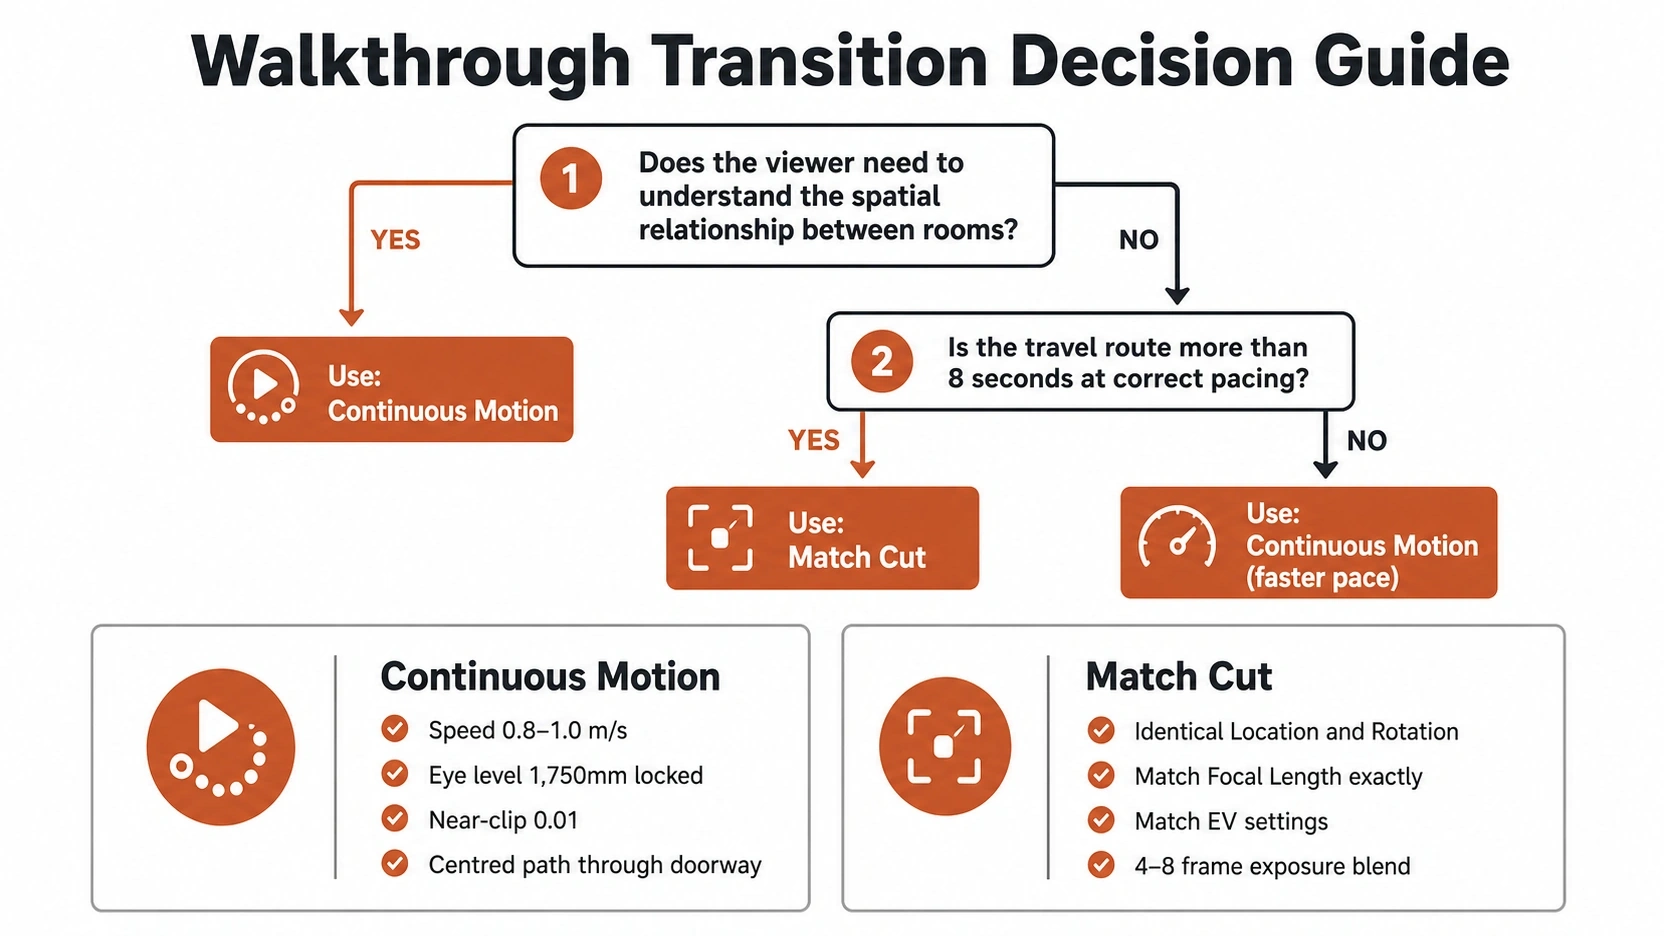
Continuous motion keeps the camera moving at constant speed through a doorway or archway from one room to the next. No cut occurs. The viewer feels the spatial relationship between rooms because they travel the distance themselves.
This is the right method when the spatial connection between rooms is part of what the design communicates. An open-plan layout where the kitchen flows into the dining room and out to the terrace is best understood through continuous motion. The scale, adjacency, and sight-lines only read correctly when experienced in sequence.
Speed through the doorway should hold at 0.8 to 1.0 m/s, the same pace used inside the room. Any deceleration before the threshold or acceleration after creates a checkpoint effect where the transition itself becomes an event. The transition should be invisible.
Match Cut
A match cut is a hard camera swap. Two cameras are placed at the same real-world position, with identical Location, Rotation, Focal Length, and Aperture values at the cut frame. When the cut fires, the viewer appears to be in the same spot they were before, but the room has changed.
Use match cuts to compress time and skip dead space. A corridor that takes 12 seconds to traverse at correct pacing but adds no information to the story is a candidate for a match cut. So is a jump from a ground-floor room to an upper-floor terrace where the staircase route is not relevant to the brief.
Match cuts are not the default. They remove spatial context. If a client needs to understand how far the master bedroom is from the kitchen, a match cut between those two rooms destroys that information. Use continuous motion when the journey matters; use match cuts when only the destination matters.
Continuous Motion: Getting Architectural Walkthrough Doorways Right
Camera Path Through Doorways
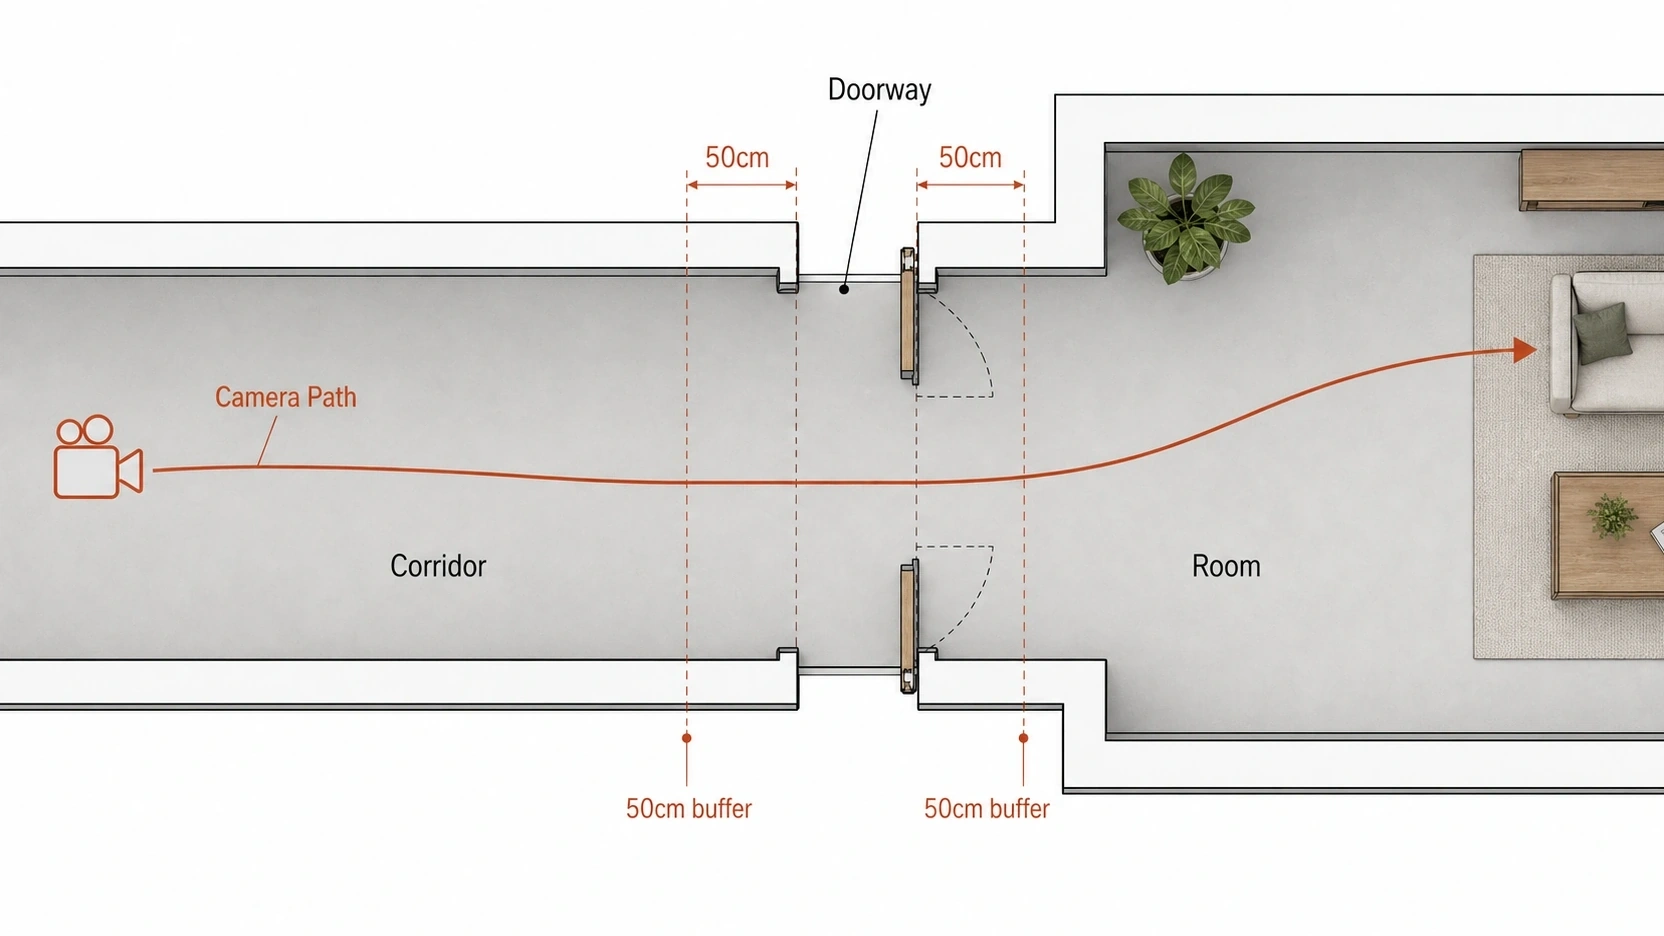
The camera path through a doorway is planned in the top-down viewport before any animation begins. The path should be centred within the doorway opening. An offset of more than 30cm from centre in a standard 900mm door reads as the camera grazing the door frame, which unsettles the viewer.
Keep the horizontal speed constant through the opening. The camera path node before the doorway and the node after it should have the same velocity value. No ease-out before the frame, no ease-in after. The goal is for the doorway to feel like open space rather than a threshold.
Extend the path 50cm before and 50cm after the door frame in the scene. This buffer gives the motion interpolation room to maintain smoothness and prevents the curve from kinking exactly at the door frame position. Eye level stays at 1,750mm throughout the transition. Any upward or downward drift through a doorway reads as the camera ducking, which is the most immediately noticeable orientation error in continuous-motion walkthroughs.
Fixing Doorway Clipping in Unreal Engine
Camera clipping at doorways happens when the near-clipping plane intersects the geometry of the door frame. The default near-clip value in Unreal Engine 5 is 10cm, which means any door frame the camera passes within 10cm of will show a visible geometry cutout.
Two fixes resolve this:
- Near Clip Plane: Reduce to 0.01 in Project Settings > Rendering. This allows the camera to pass within millimetres of geometry without triggering the cutout.
- Collision layer: Set the door frame wall geometry to a “Camera Invisible” collision layer. The camera passes through the visual geometry without clipping, while the geometry still exists for lighting and shadow purposes.
Test the path in a grey-box version of the scene before materials and lighting are applied. Clipping discovered in grey-box costs nothing to fix. Clipping discovered after final render means re-rendering at full production cost.
Getting these details right consistently, project after project, is really the difference between a rough animatic and finished-quality output – it’s the kind of groundwork that sits behind our 3D visualization services.
Match Cuts in Unreal Engine Sequencer
Setting Up the Camera Cut Track
Place two Camera Actor objects in the scene. Position the first at the end of the corridor, the second at the same world coordinates, oriented in the same direction. Both cameras must share identical Location, Rotation, Focal Length, and Aperture at the cut frame. Any mismatch is visible, most commonly as a jump in apparent scale if Focal Length differs even slightly.
In Sequencer, add a Camera Cut Track via the + Track menu. Place the corridor camera section first, then the room camera section immediately after. For a hard cut, sections should be contiguous with zero frame gap. For a blended transition, overlap the sections by 4 to 8 frames. Sequencer interpolates between the two cameras over the overlap duration, producing a cross-fade.
Use the Camera Pilot mode to manually verify the cut frame. Click the camera icon on each Camera Actor to see exactly what that camera sees at the transition frame, then adjust position until both cameras produce a matching frame.
For more on camera speed settings across different space types in an architectural walkthrough, see our breakdown of 3d architectural walkthrough camera speeds.
Post-Process Exposure Matching
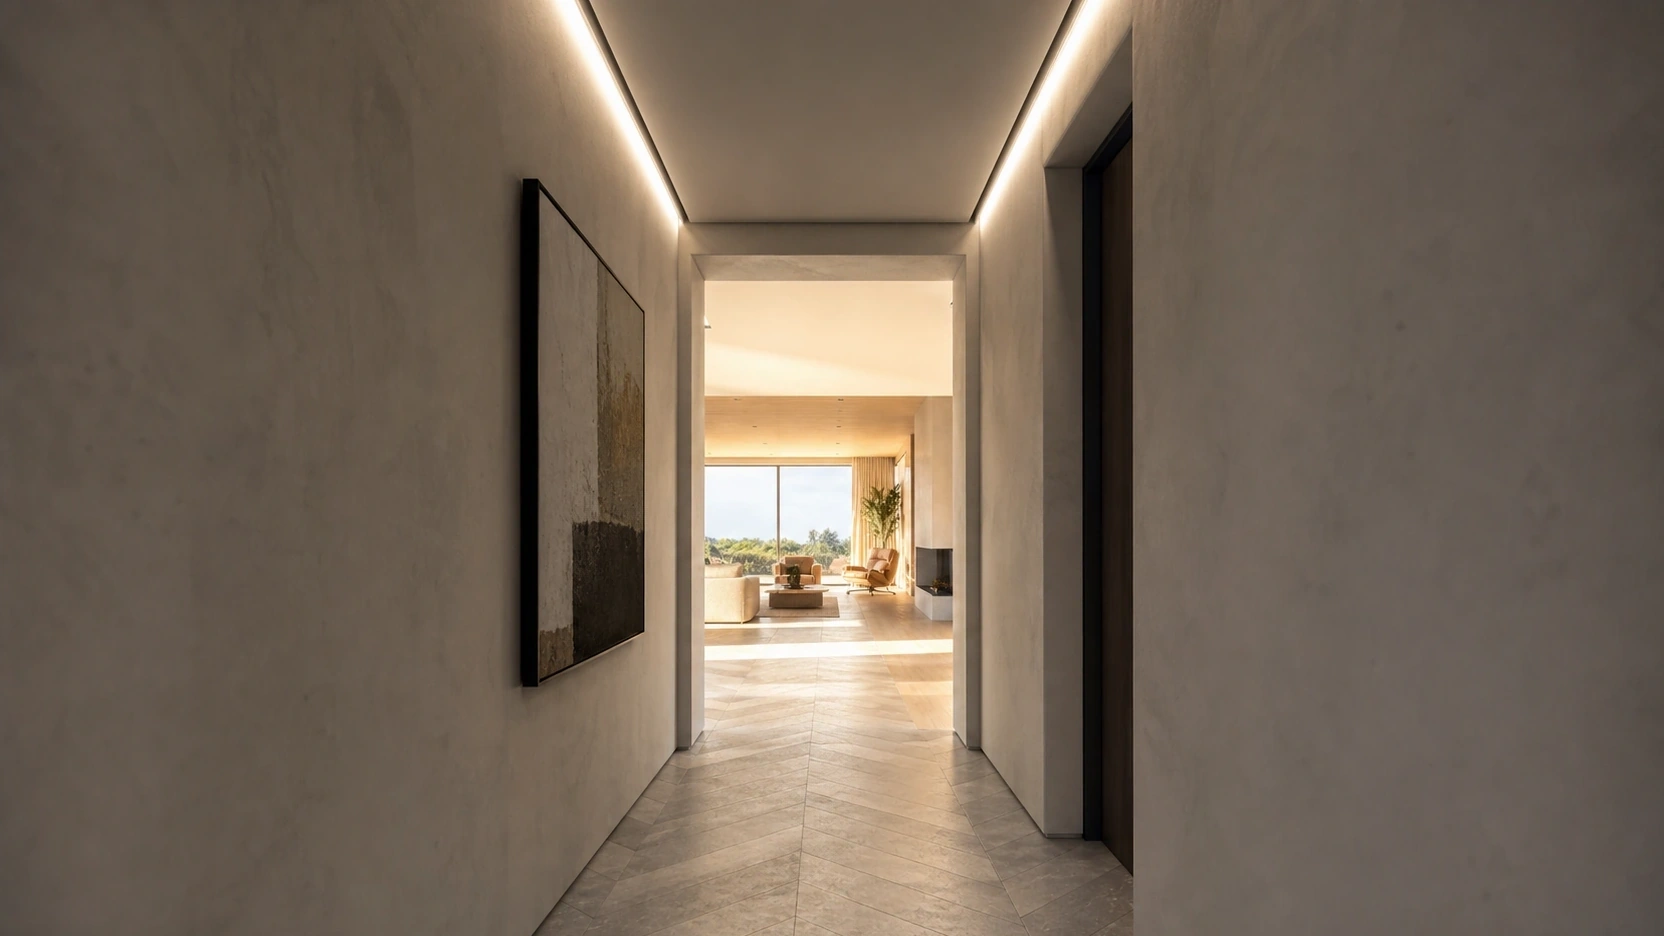
A brightness flicker at the cut point is the most common match cut error. It happens when a bright, glazed corridor transitions to a darker interior room and the cameras have different auto-exposure or EV settings.
Fix this with per-camera Post-Process Volume settings in Sequencer. Enable Manual Exposure Override on both cameras and set identical EV Compensation values at the cut frame. This locks brightness to the same value on both sides of the cut. If the light change between rooms is intentional and part of the design story, add a 4-to-8-frame exposure blend after the cut point to simulate how human vision adapts when moving from bright to dim spaces.
Transitional Spaces: Corridors and Foyers as Scene Buffers
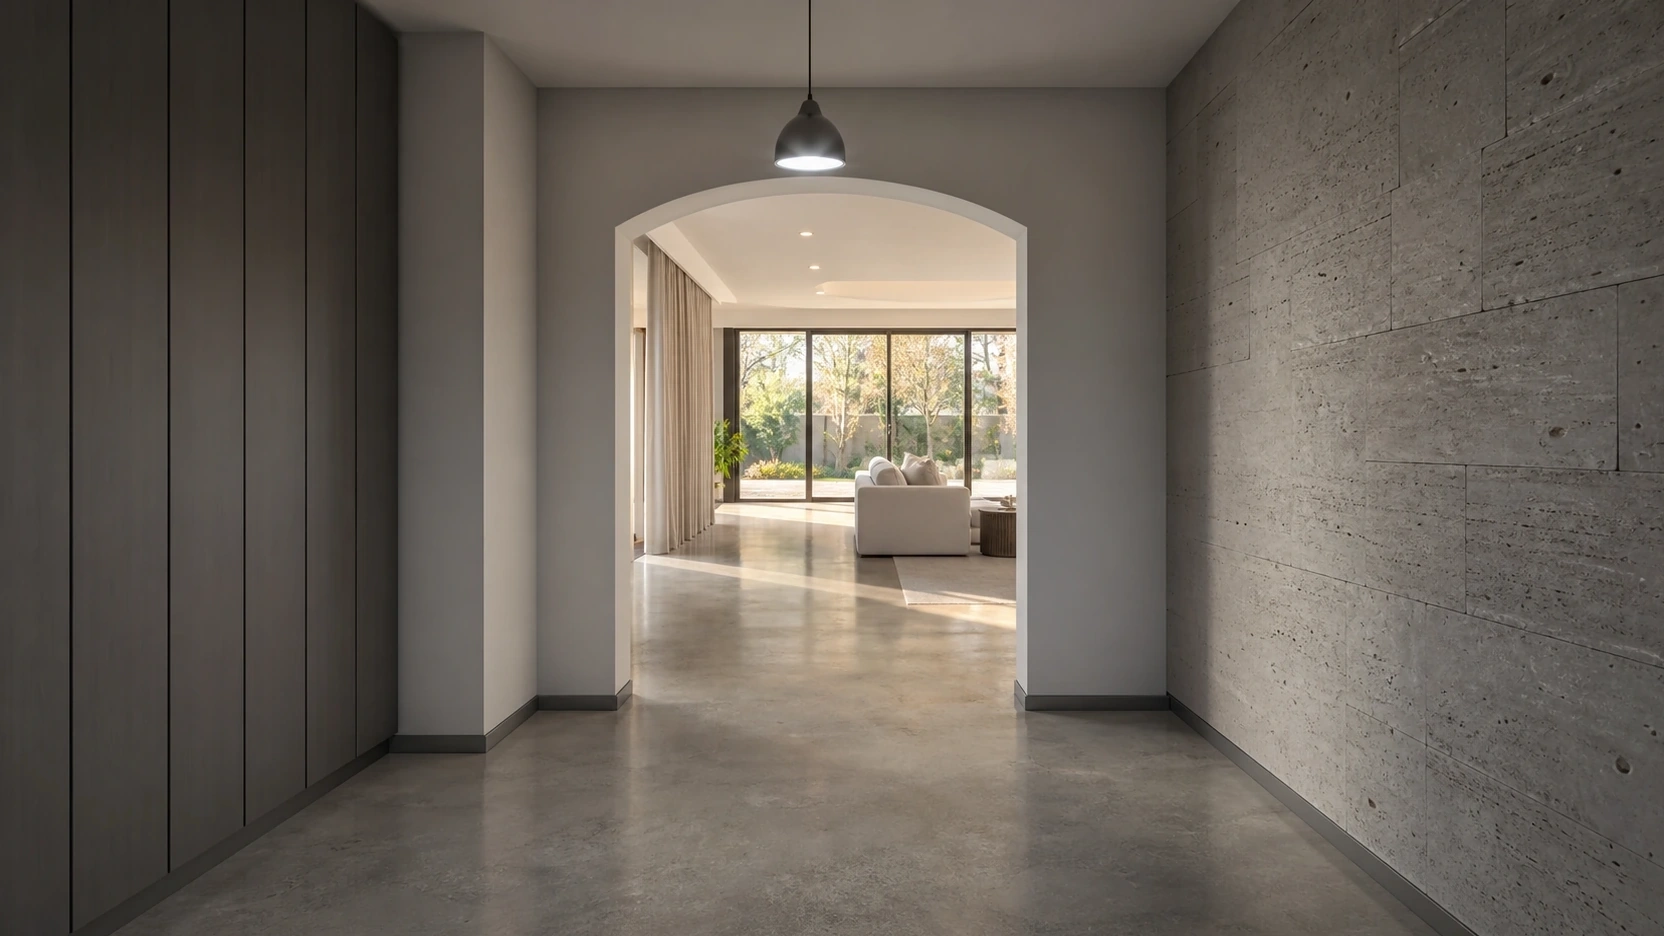
Corridors, foyers, entrance halls, and covered walkways are not dead space in an architectural walkthrough. They are buffer zones. Their function is to give the viewer time to complete their read of the previous room and prepare spatially for the next one.
Camera speed through transitional spaces runs at 1.2 to 1.5 m/s, slightly faster than room speed. The pace signals that this space is in service of the destination, not the subject itself. Slow down to 0.8 to 1.0 m/s as the camera approaches the threshold of the next room, creating a natural deceleration before the reveal opens.
Lens choice in corridors: a 24mm wide-angle lens emphasises corridor depth. The converging wall lines guide the eye toward the exit point and build visual anticipation for the room beyond. When transitioning into the new room, widen back from 24mm to 35mm over the first 2 to 3 seconds to let the space expand in the viewer’s perception.
Keep corridor lighting neutral and flat. A warm, atmospheric corridor competes with the room reveal. Save the warm tones and dramatic shadows for the space that earns them.
Shot duration: no single continuous transition through a corridor should exceed 8 seconds. If correct pacing takes longer than 8 seconds, the corridor is a candidate for a match cut at its midpoint.
Storyboarding Transitions Before Animating
Transitions are a pre-production decision. Committing to an animation in the wrong method, then discovering it disorients the viewer at the review stage, means re-shooting the sequence. In an architectural walkthrough, re-shooting means re-rendering at full production cost.
The grey-box test: animate the complete walkthrough path in a low-polygon placeholder version of the scene before any materials, lighting, or entourage assets are placed. The grey-box exposes three problems that are invisible until the camera moves:
- Does the viewer know where they are going before the transition fires?
- Does eye level stay consistent across every doorway?
- Does each cut feel motivated, or does it feel arbitrary?
A typical residential walkthrough uses continuous motion for all room-to-room connections where the spatial relationship matters: entry to foyer, foyer to living room, living room to kitchen. Match cuts serve for moves that skip non-narrative space: ground floor to upper level, a long corridor midpoint to the terrace, master suite to ensuite where the corridor adds nothing to the story.
At RenderInfinity, every walkthrough project begins with a grey-box transition review before materials, lighting, or entourage are placed. Transition decisions recorded at that stage become part of the shot brief, which means they are not revisited during the render phase.
What Matters Most
- Two methods cover all transitions: continuous motion preserves spatial understanding; match cuts compress time and skip dead space. Choose based on whether the viewer needs to travel the distance between rooms.
- Continuous motion through doorways: lock eye level at 1,750mm, centre the camera path, hold speed at 0.8 to 1.0 m/s, and reduce UE5 near-clip plane to 0.01 to prevent doorway clipping.
- Match cuts: both cameras must share identical Location, Rotation, Focal Length, and Aperture at the cut frame. Add 4 to 8 frame exposure blending to prevent brightness flicker when light levels differ between rooms.
- Corridors are buffers: run them at 1.2 to 1.5 m/s with a 24mm lens, decelerate before the room reveal, and keep corridor lighting neutral so the destination room carries the atmosphere.
- Storyboard in grey-box before animating. Discovering a disorienting transition in grey-box costs minutes. Finding it after final render costs hours.
Frequently Asked Questions
What is a match cut in an architectural walkthrough?
A match cut is a camera transition where two separate cameras share identical Location, Rotation, Focal Length, and Aperture at the cut frame. The viewer perceives continuous movement even though the camera position has jumped. Used to skip corridors, compress time, or jump to high-impact rooms without the full travel time.
How do I stop my camera from clipping through door frames in Unreal Engine?
Reduce the Near Clip Plane to 0.01 in UE5 Project Settings > Rendering. This allows the camera to pass within millimetres of geometry without the door frame disappearing. Alternatively, assign the door frame walls to a “Camera Invisible” collision layer. Always test in grey-box before committing to final render.
Should I use continuous motion or a match cut for my architectural walkthrough?
Continuous motion when the viewer needs to understand the spatial relationship between rooms. Match cuts when a corridor or travel route adds no information to the story. Most residential walkthroughs use continuous motion for connected living spaces and match cuts to skip staircase routes or long corridor runs.
What speed should the camera travel through doorways?
The same speed used inside the room: 0.8 to 1.0 m/s. No deceleration before the doorway, no acceleration after. Speed changes at the threshold draw attention to the transition and break spatial continuity.
How do I fix the brightness flicker when cutting between rooms in Unreal Engine Sequencer?
Enable Manual Exposure Override on both cameras in their Post-Process settings in Sequencer. Set identical EV Compensation values at the cut frame to lock brightness on both sides. If the light difference is intentional, add a 4-to-8-frame exposure blend after the cut to simulate eye adaptation.
Conclusion
Transitions are where an architectural walkthrough earns or loses its credibility. The camera path, the method, the speed, and the light handling at each transition are decisions that must be made before the scene is rendered, not adjusted afterward.
At RenderInfinity, we treat the grey-box transition review as a non-negotiable step in every walkthrough project. The choices made there define the final result more than any material or lighting decision made later. If you are planning an architectural walkthrough and want transitions that feel spatial rather than mechanical, we are available for project enquiries through our architectural animation services page.