

Golden Hour vs Night in Exterior Renderings: A Lighting Decision Guide
Choosing the Right Lighting for Exterior Renderings
What Each Lighting Condition Communicates
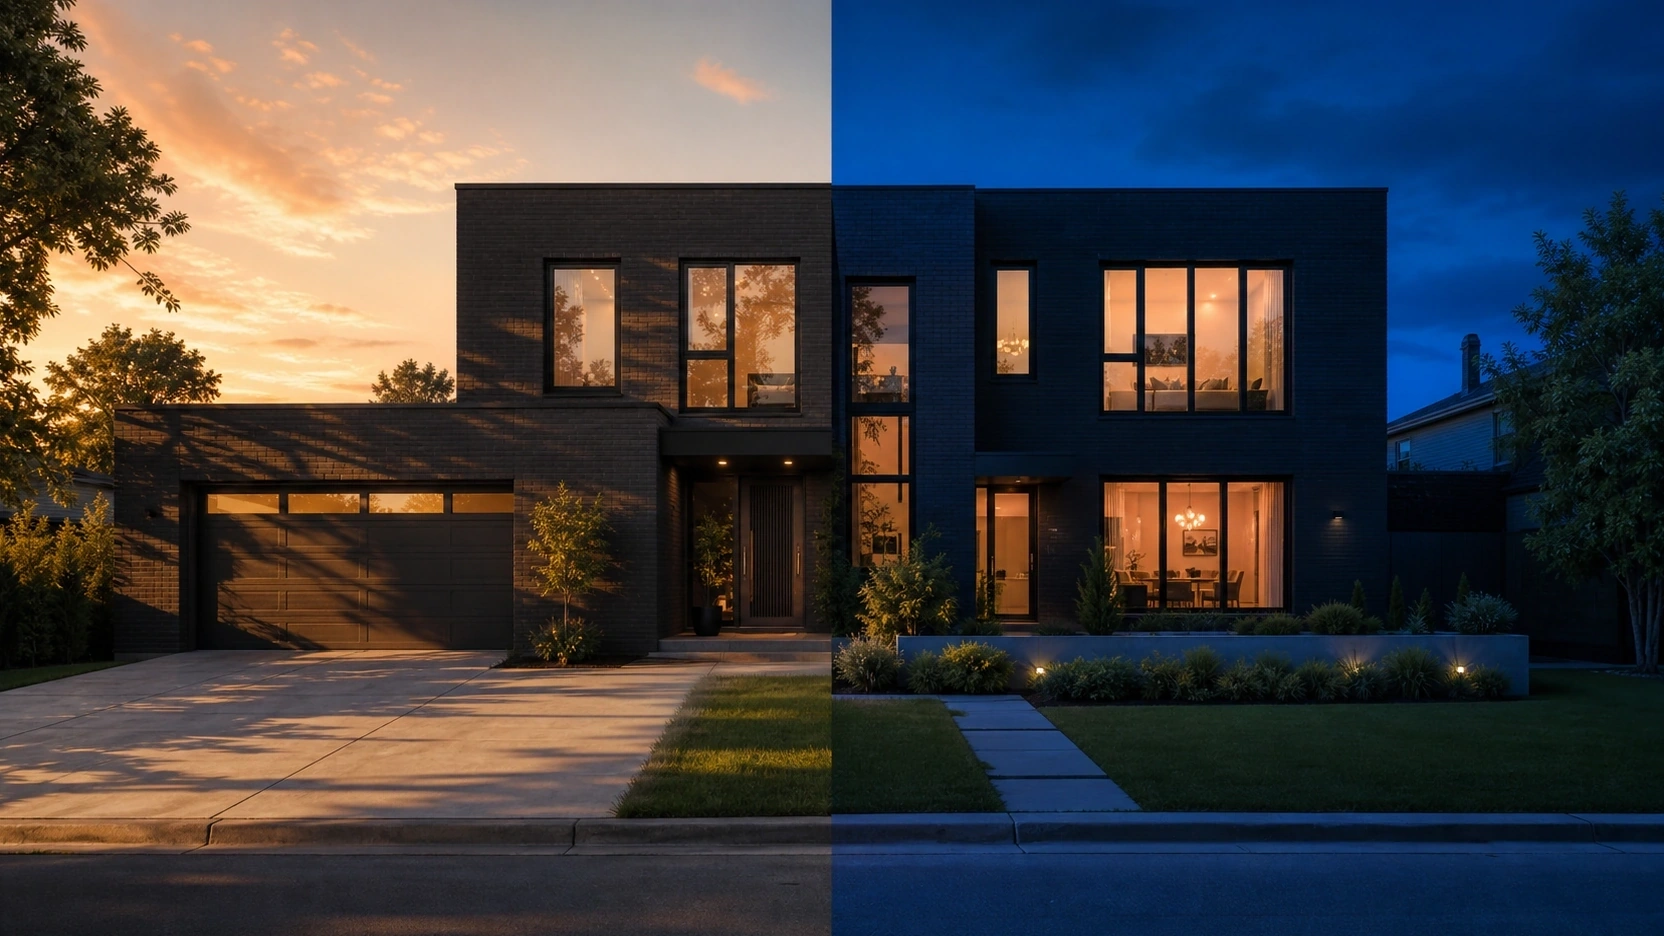
Lighting condition in exterior renderings is a design brief element, not a production default. Three conditions cover most professional briefs.
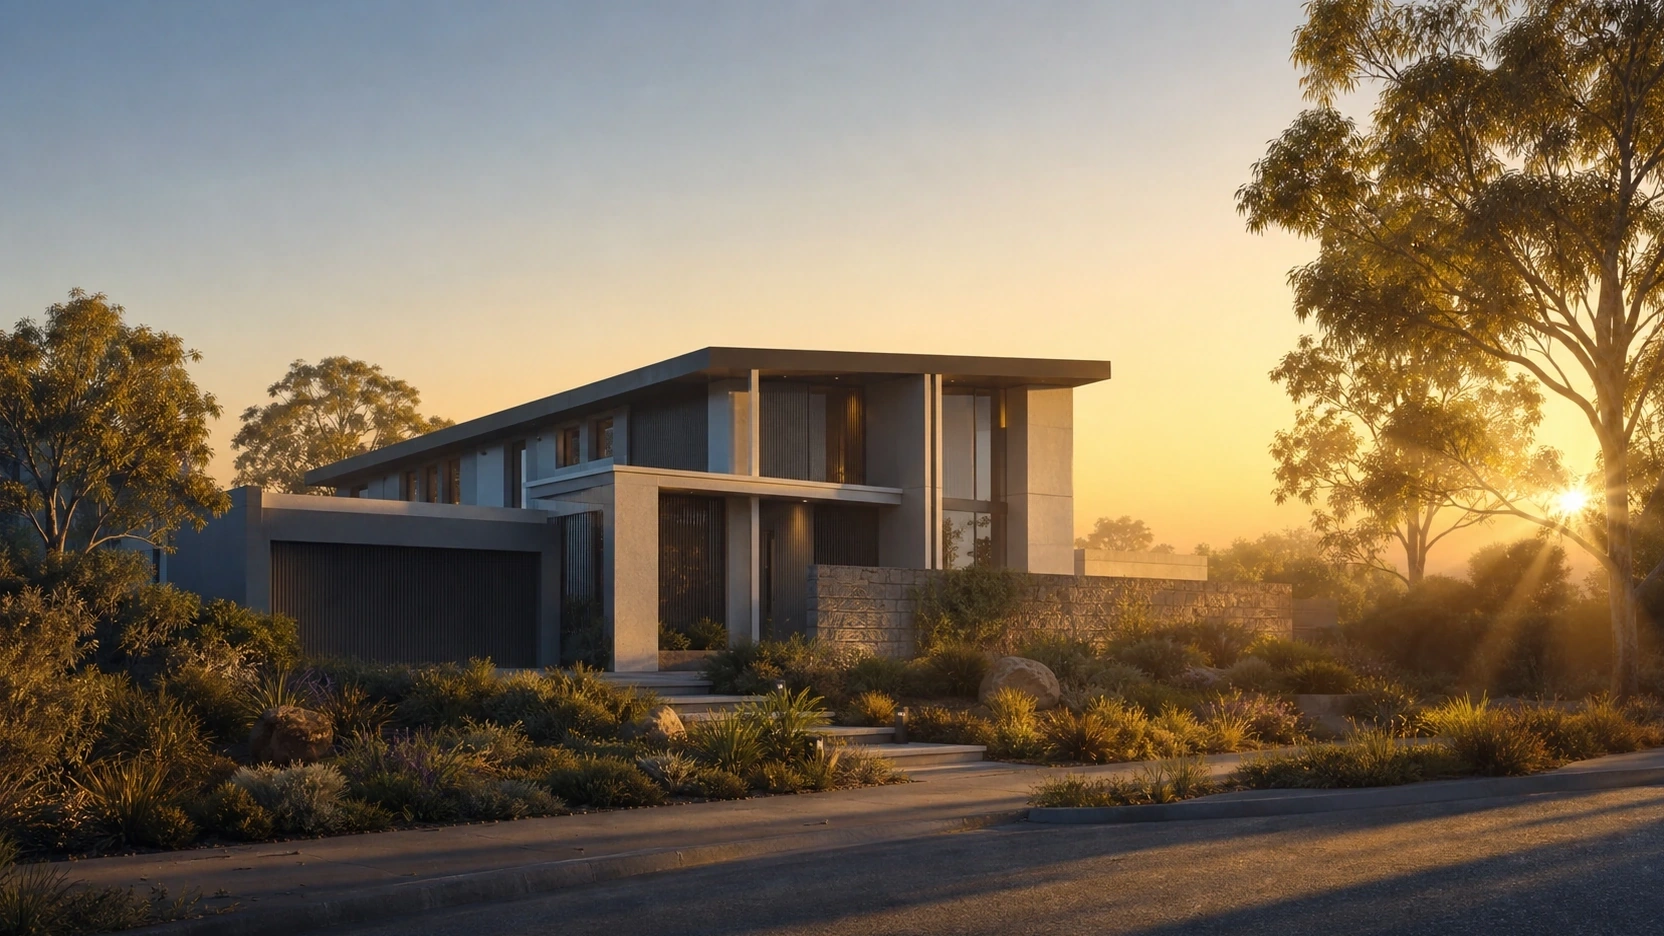
Golden hour produces warm amber light at 2000K to 3000K colour temperature, long shadows, and a sky that graduates from deep orange at the horizon to warm blue overhead. It communicates warmth, aspiration, and domestic comfort. The building looks inhabited. This is the correct condition for luxury residential, boutique hospitality, and any project where the emotional message is “this is a place I want to be inside.”
Blue hour occurs 15 to 30 minutes after sunset. The sky retains a rich, luminous blue from residual atmospheric scattering. Interior and exterior artificial lights become visible and compete with the sky for dominance at similar brightness levels. The building appears occupied and functional. This reads correctly for commercial office, mixed-use developments, and retail frontage.
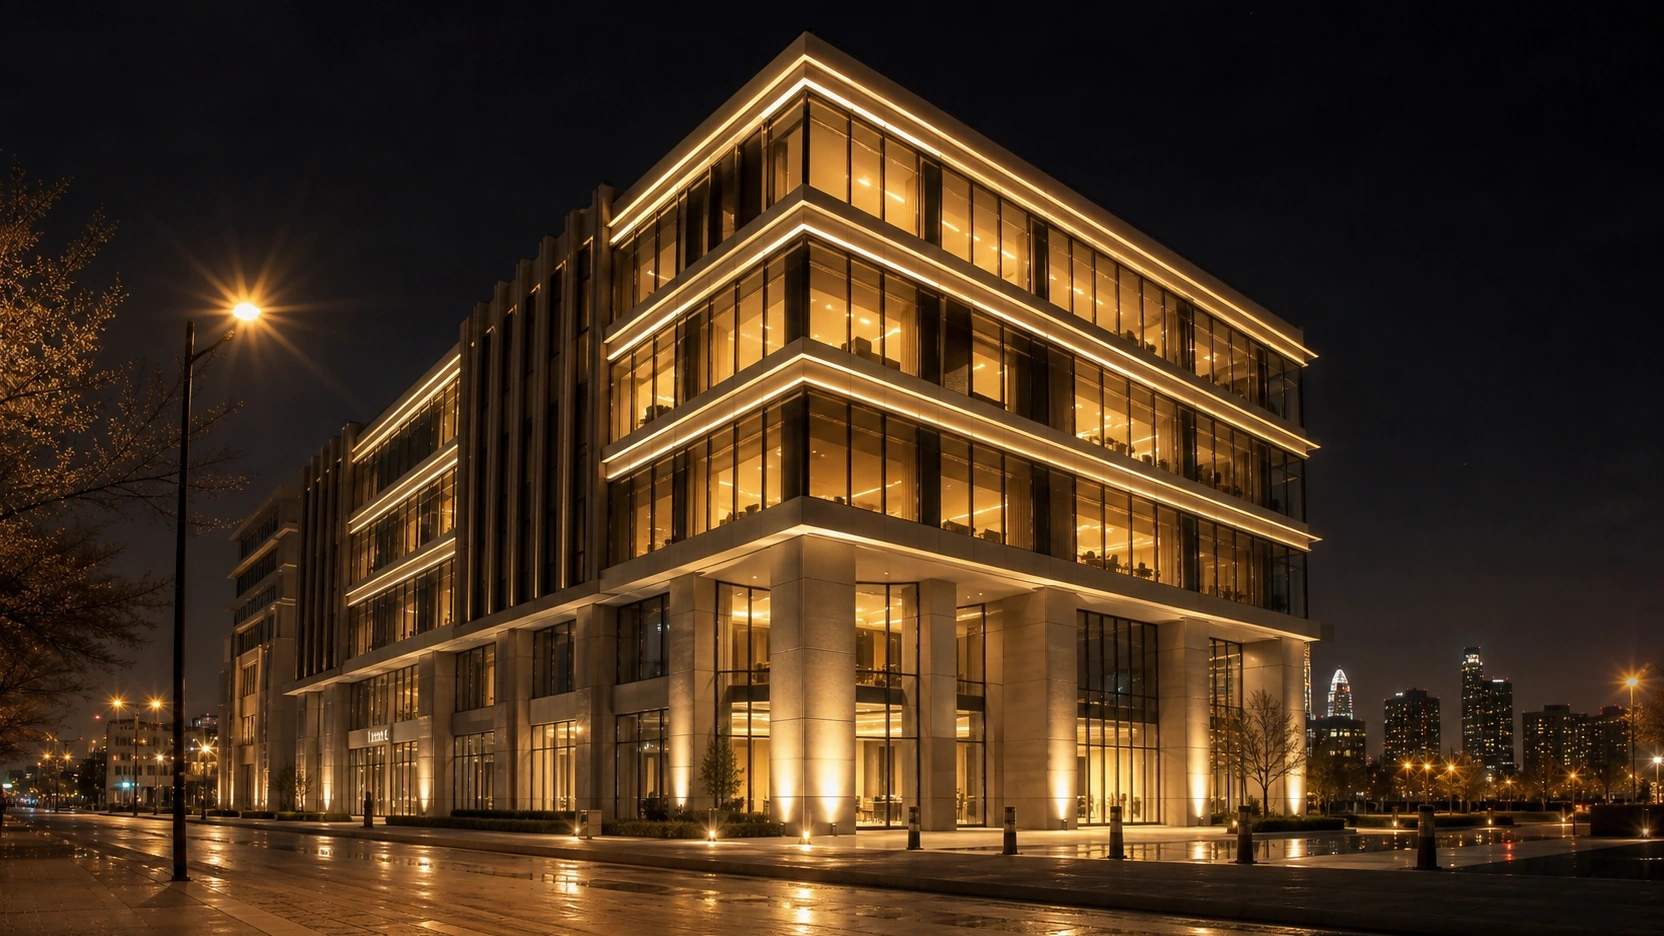
True night (90 or more minutes after sunset) has a dark sky against which interior glow and exterior fixtures are the only significant light sources. The building is lit against darkness. This condition is reserved for landmark cultural buildings, high-end hospitality, and projects where the artificial lighting design is itself a feature of the architectural brief.
Decision guide by project type:
- Luxury residential: golden hour
- Commercial office / mixed-use: blue hour
- Cultural / civic / museum: true night or blue hour depending on facade material
- Boutique hotel: golden hour for approach shot; blue hour for entrance and lobby views
- Retail frontage: blue hour (window displays read clearly, activity implied)
Blue Hour vs True Night
The distinction matters because the two conditions require different lighting setups and produce images that communicate different things.
Blue hour is the 15 to 30 minutes after sunset when the sky is still luminous. Artificial lights are visible but the sky provides ambient fill across the full scene. Exposure is balanced: sky and building surfaces read at similar brightness levels. This is the most technically forgiving exterior rendering condition and the one that most clients actually mean when they request a “night render.”
True night means a dark sky with no ambient fill except artificial sources and residual urban glow. The building is a lit object in darkness. Interior plane lights must be bright enough to anchor the composition. Contrast management is the primary technical challenge. For most exterior renderings, blue hour is the correct interpretation of a “night render” brief unless the project specifies otherwise.
Setting Up Golden Hour Exterior Renderings in V-Ray
Sun, Sky, and Atmosphere
Golden hour in exterior renderings requires adjustments to three V-Ray settings before materials or camera exposure are considered.
V-Ray Sun: Size multiplier 4. The default multiplier of 1 produces sharp, defined shadow edges that read as midday even when sun elevation is low. Size multiplier 4 diffuses the shadow edge, matching the soft penumbra of a low sun filtered through atmospheric haze. Sun intensity approximately 0.4 for pale stone and rendered concrete facades. Sun elevation 5 to 15 degrees above the horizon, this produces shadow lengths of 4 to 6 building heights across the foreground.
Sky model: set to Hosek in the V-Ray Sun properties. The default Preetham model produces a flatter, less accurate colour gradient at low sun angles. Hosek produces the correct graduation from deep orange at the horizon through yellow to pale blue overhead.
V-Ray Environment Fog: add at low density, 0.001 to 0.005. At this density, the fog creates soft atmospheric depth and produces subtle god rays where the low-angle sun catches building edges and tree canopy.
Post-Processing Golden Hour
The most common failure in golden hour exterior renderings is orange-washing: every surface, shadow, and sky area shifts toward amber because no distinction is made between highlight and shadow colour temperature.
Real-world dusk shadows are filled with sky-reflected light. At golden hour, the sky overhead is warm blue, not orange. Shadow areas on a real building at 5 to 10 degrees sun elevation are lit primarily by the sky, which means they are cooler than the highlights. The contrast between warm amber highlights and cool blue-cast shadows is what makes a golden hour render read as photographic rather than digitally processed.
Fix: in the V-Ray Frame Buffer, use the Curves tool to add a slight blue lift in the shadow luminance range. Target shift is 8 to 12% toward blue in the shadows relative to the highlight temperature.
Setting Up Night and Blue Hour Exterior Renderings
The Three-Layer Lighting Hierarchy
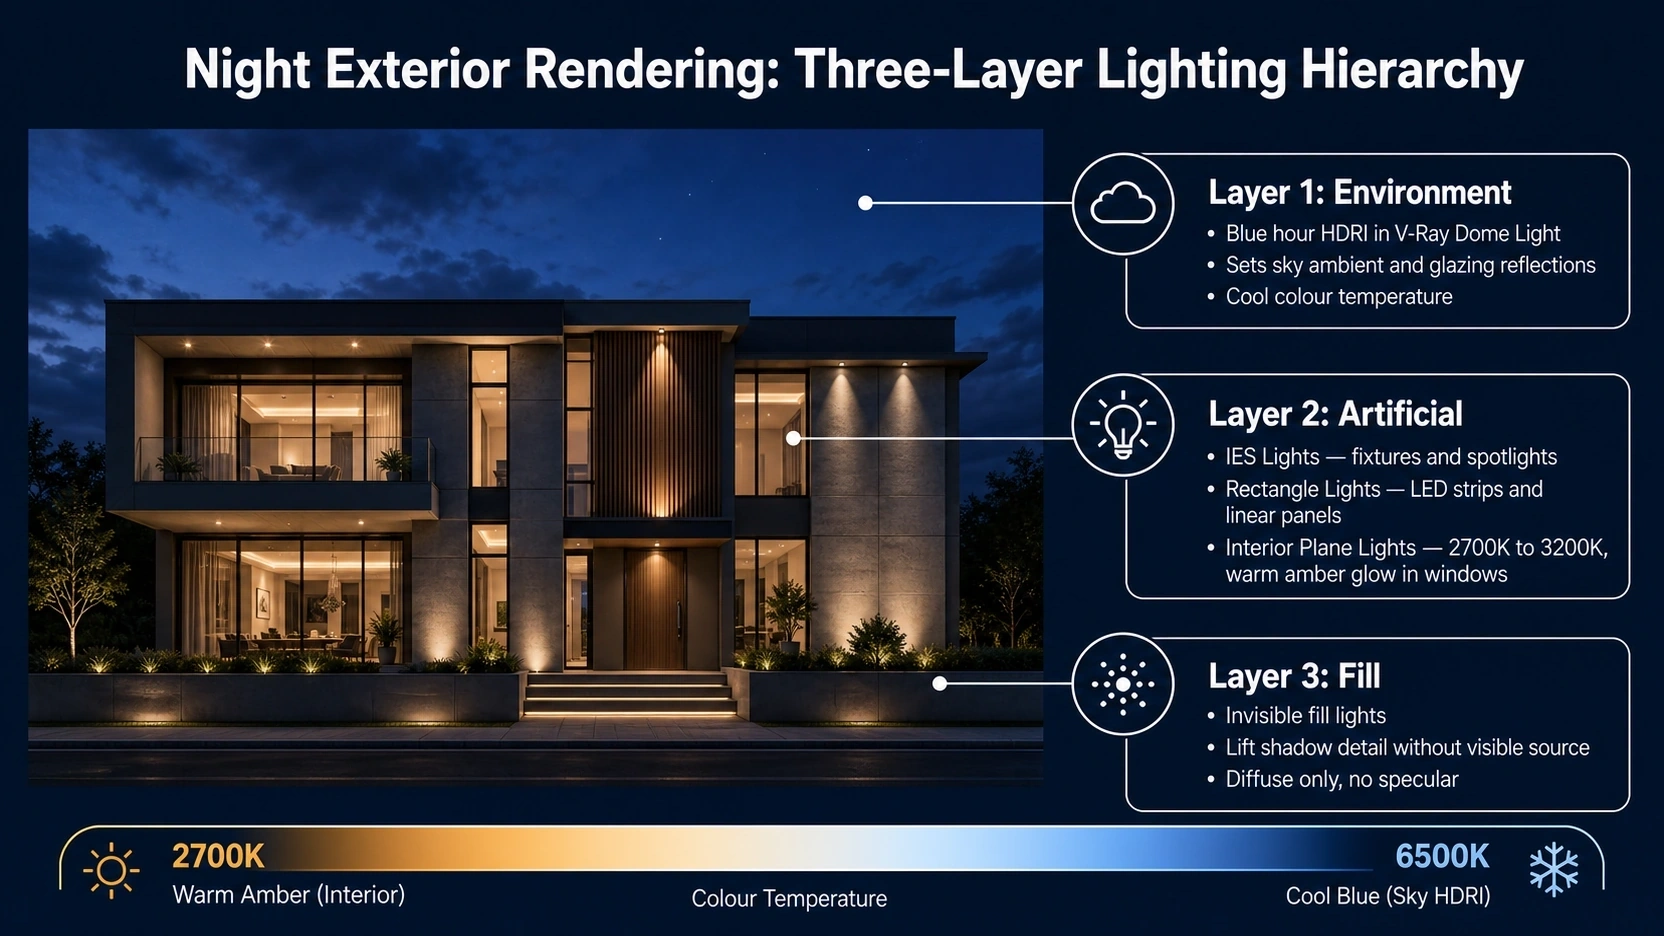
Night and blue hour exterior renderings are built in three layers. The order matters: each layer depends on the previous one being set correctly before it can be calibrated.
Layer 1 – Environment: place a blue hour HDRI in a V-Ray Dome Light at low intensity. The HDRI drives the ambient colour of the entire scene, fills environmental reflections in glazing, and sets the sky luminance that the artificial lights must be balanced against. Source the HDRI from a blue hour photographic set, not a neutral sky.
Layer 2 – Artificial: three sub-types, each serving a distinct function:
- IES lights for wall sconces, downlights, bollard lights, and architectural spotlights. IES profiles produce accurate fixture-specific light distribution patterns.
- Rectangle or mesh lights for LED strips, linear cove lighting, under-eave illumination, and illuminated facade panels.
- Interior plane lights placed just behind window apertures at 2700K to 3200K colour temperature. This warm interior against the cool blue exterior ambient is the defining visual element of a blue hour render.
Layer 3 – Fill: invisible fill lights with no contribution to reflections. Their purpose is to lift shadow detail in the darkest facade areas without adding a visible new light source in frame. Set fill lights to affect diffuse only, not specular.
Window Glow and Post-Render Tools
Window glow is the most critical element in night and blue hour exterior renderings. Without it, the building reads as unoccupied and the artificial lighting has nothing to anchor against.
Setup: place V-Ray Plane Lights or Corona Light Materials directly behind window apertures inside the rooms at 2700K to 3200K. Intensity should produce a clearly visible window in the rendered frame without blowing to pure white. The warm amber window against the cool blue exterior is the image’s primary composition anchor.
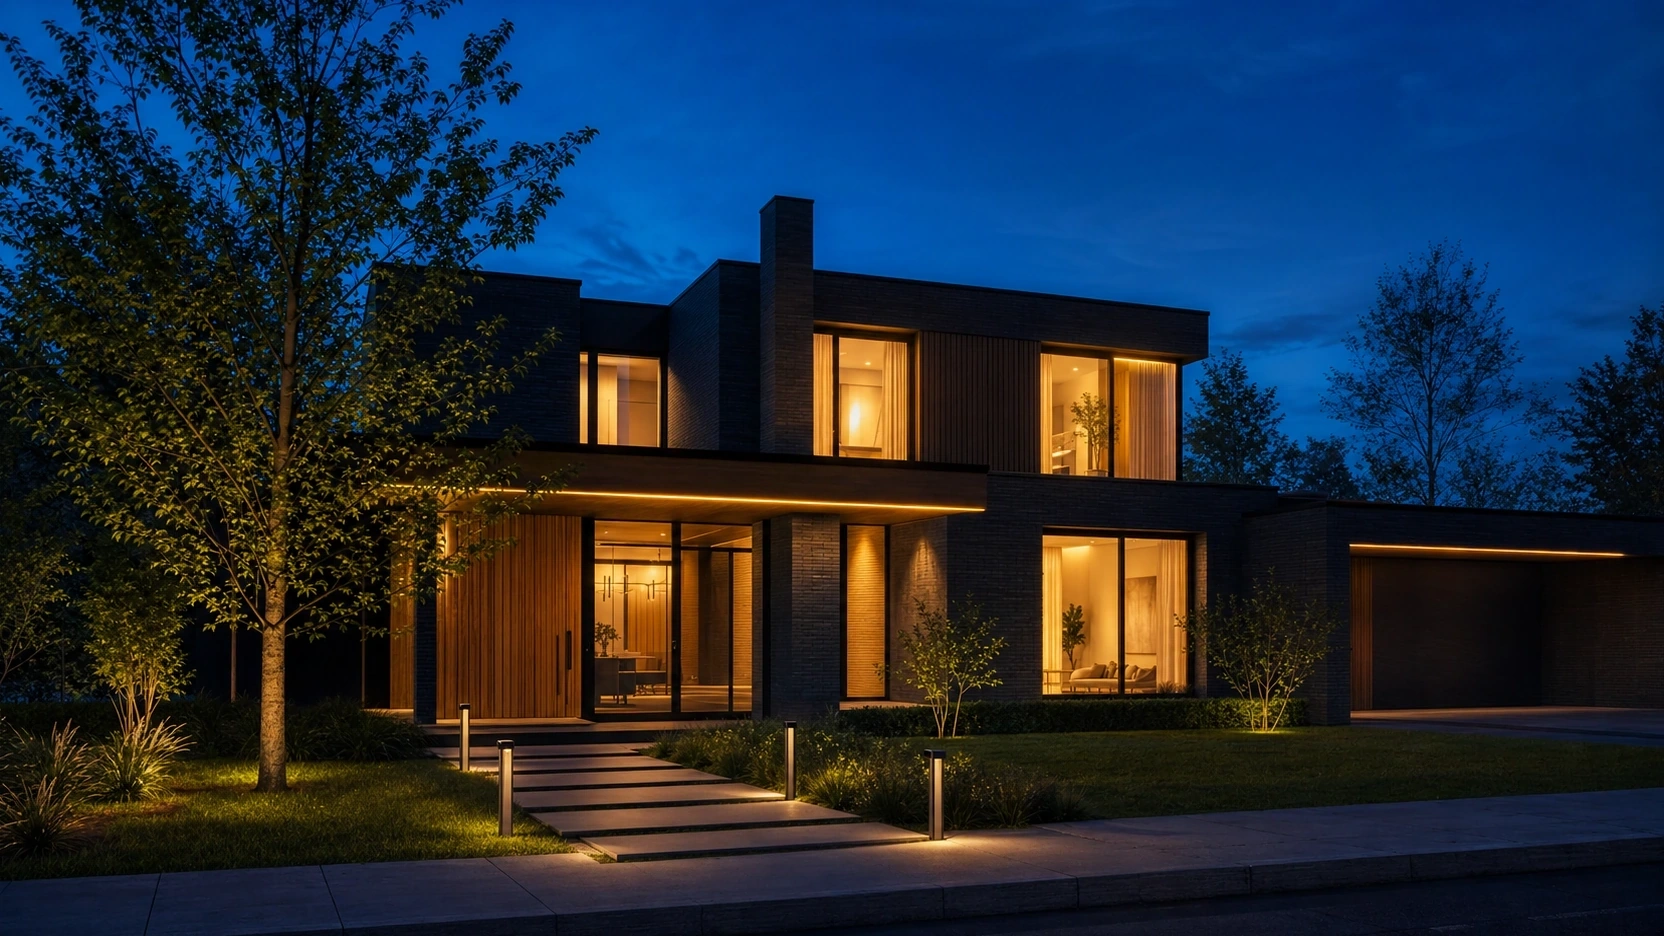
Post-render: enable Bloom and Glare in the V-Ray or Corona Frame Buffer. This applies a realistic soft bleed of light around windows and bright exterior fixtures. Without Bloom and Glare, windows look like flat luminous rectangles. With it, they read as real light sources.
LightMix is the post-render tool that makes exterior rendering lighting efficient. Available in both V-Ray and Corona, it allows adjustment of each light source’s intensity and colour in the Frame Buffer after rendering is complete, without re-rendering. From a single night exterior render session, LightMix can produce a blue hour variant by raising the HDRI intensity and a true night variant by reducing it to near-zero.
Set the denoiser noise limit to 5% for night exterior production renders. Low-light areas accumulate noise at much higher sample counts than daylight scenes.
For more on scene composition and entourage placement in exterior renders, see our guide on exterior 3D visualization people placement.
What to Know
- Golden hour = warmth, aspiration, inhabitation. Luxury residential default. V-Ray Sun size multiplier 4, intensity 0.4, Hosek sky, elevation 5 to 15 degrees. Cool shadows 8 to 12% in post to avoid orange-washing.
- Blue hour = balance and activity. Sky retains luminous blue ambient while artificial lights become visible. The most technically forgiving night exterior condition and usually the correct interpretation of a “night exterior render” brief.
- True night = drama and landmark confidence. Dark sky; interior glow anchors the composition. Reserved for buildings where artificial lighting design is the subject of the render.
- Night exterior lighting stack: Layer 1 Environment HDRI (blue hour), Layer 2 Artificial (IES, rectangle, interior plane lights at 2700K to 3200K), Layer 3 invisible fill. Enable Bloom and Glare. Set denoiser to 5% noise limit.
- Use LightMix post-render to balance and produce variants (golden hour, blue hour, true night) from a single render session without re-rendering.
Frequently Asked Questions
When should I use golden hour vs night in exterior renderings?
Golden hour for luxury residential, boutique hospitality, and any brief where warmth and inhabitation are the primary message. Blue hour for commercial, mixed-use, and retail frontage where the building’s active presence in the cityscape matters. True night for landmark cultural buildings and high-end hospitality where the artificial lighting design is the feature being presented.
What is blue hour and how is it different from night in architectural rendering?
Blue hour is the 15 to 30 minutes after sunset when the sky retains a rich luminous blue from residual atmospheric scattering. Artificial lights read against a lit sky rather than a dark one. True night has a dark sky with no ambient fill. Blue hour is technically easier to balance, produces a more visually versatile composition, and is what most clients mean when they specify a “night exterior render” without further clarification.
What V-Ray settings should I use for a golden hour exterior rendering?
V-Ray Sun size multiplier 4 for soft shadows. Sun intensity approximately 0.4. Hosek sky model in V-Ray Sun properties. Sun elevation 5 to 15 degrees above the horizon. Add V-Ray Environment Fog at density 0.001 to 0.005 for atmospheric depth and subtle god rays. In post-processing, apply an 8 to 12% blue shift to the shadow colour range to prevent orange-washing.
How do I set up window glow for a night exterior rendering?
Place V-Ray Plane Lights or light materials behind window apertures inside the rooms at 2700K to 3200K colour temperature. Enable Bloom and Glare in the V-Ray Frame Buffer for soft light bleed around window apertures. Use LightMix to balance interior glow intensity against exterior fixture brightness after rendering, without re-rendering the scene.
What is LightMix and why is it important for exterior renderings?
LightMix is a post-render tool in V-Ray and Corona that allows intensity and colour adjustment of individual light sources in the Frame Buffer without re-rendering. For exterior renderings it enables rapid balancing between warm interior glow and cool exterior ambient, and produces golden hour, blue hour, and true night variants from a single render session.
Conclusion
Lighting condition is the first communication decision in exterior renderings, not the last production step. Golden hour, blue hour, and true night each say something specific about the building before the viewer reads any project description or material schedule.
At a professional 3D Architectural Visualization Studio , lighting condition is specified in the initial project brief alongside material palette and camera position. The choice of time of day is a design decision with the same weight as the choice of viewpoint. If you are planning an exterior render package and want lighting that serves the architecture’s brief rather than defaulting to habit, visit our exterior rendering services page or send us your project details.